Live streaming on YouTube using your PC can be a powerful way to engage with your audience and grow your channel. From setting up your YouTube channel for live streaming to engaging with viewers during your streams, there are key steps and strategies to consider for a successful live streaming experience. This ultimate guide covers everything you need to know to master live streaming on YouTube using your PC.
Key Takeaways
- Creating engaging content is essential for keeping viewers interested during live streams.
- Promoting your live streams through compelling thumbnails and catchy titles can help attract a larger audience.
- Engaging with viewers through interactions like responding to comments and running polls can enhance the live streaming experience.
- Analyzing performance metrics and viewer feedback is crucial for improving future live streams.
- Choosing the right equipment and configuring OBS Studio correctly are key factors in ensuring high-quality live streams.
Setting Up Your YouTube Channel for Live Streaming
Creating a YouTube Channel
To begin live streaming on YouTube, the first step is to create your own YouTube channel. This is your personal space on the platform where your live streams will be hosted. Start by signing in with a Google account, which is a prerequisite for any activity on YouTube. Once signed in, you can create a channel by clicking on your profile icon and selecting ‘Create a channel’.
Next, personalize your channel by adding a profile picture, a banner, and a compelling channel description that reflects your content and personality. Remember to link your social media accounts to your channel to facilitate easy sharing of your live streams. Additionally, consider creating a dedicated ‘Live’ section on your channel to showcase upcoming and ongoing events, which can significantly enhance your channel’s engagement.
It’s crucial to ensure that your channel’s name and aesthetics align with the content you plan to stream. This coherence helps in building a recognizable brand on the platform.
Verifying Your Channel
Once you’ve created your YouTube channel, the next step is to verify it. Verification is a crucial step that unlocks additional features for your channel. By verifying, you’re essentially confirming your identity with YouTube, which helps in preventing spam and abuse on the platform.
To verify your channel, you’ll need a phone number. YouTube will send a verification code to your phone either via text message or voice call. Here’s a simple process to follow:
- Go to your YouTube account settings.
- Click on the ‘Channel status and features’ option.
- Choose the country you’re in and provide a phone number.
- Select whether to receive the code via text or voice call.
- Enter the verification code you receive.
After verification, you can enjoy benefits such as uploading videos longer than 15 minutes, adding custom thumbnails, appealing content ID claims, and, importantly, live streaming.
Remember, if you ever need to access or reset your verified account, YouTube has resources to assist you. Keep your account information up to date to avoid any disruptions to your channel’s capabilities.
Enabling Live Streaming
Once your channel is verified, the next step is to enable live streaming. This is a crucial step that unlocks the ability to broadcast live content to your audience. To get started, sign in to your YouTube account and navigate to the YouTube Studio. From there, you’ll find the ‘Live’ section on the left-hand menu.
- Go to the ‘Dashboard’ and select ‘Videos’.
- Choose the ‘Live’ tab.
- Click on ‘Enable’ and agree to the terms if prompted.
Remember, after enabling live streaming, there may be a waiting period of up to 24 hours before you can go live for the first time. This is a one-time security measure.
After the waiting period, you’ll be all set to start planning your first live stream. Make sure to test your setup before going live to ensure a smooth experience for your viewers.
Choosing the Right Equipment for Live Streaming
Selecting a High-Quality Camera
When venturing into the world of YouTube live streaming, selecting the right camera is crucial for delivering high-quality content to your viewers. The camera you choose should not only provide excellent image quality but also be compatible with your streaming setup and budget.
Here’s a quick rundown of factors to consider when choosing a camera for YouTube live streaming:
- Resolution and Frame Rate: Aim for at least 1080p resolution and 30 frames per second (fps) for a standard quality stream. Higher resolutions like 4K are a bonus but require more bandwidth.
- Connectivity: Ensure the camera has HDMI or USB output for easy connection to your PC.
- Autofocus: Look for a camera with reliable autofocus, especially if you move around during your streams.
- Low-Light Performance: Good performance in low light is essential if you’re streaming in various lighting conditions.
Remember, while the camera’s technical specifications are important, your content’s value and your interaction with the audience play a significant role in the success of your live streams.
Based on extensive testing, the Panasonic Lumix GH6 has been highlighted as a top choice for YouTube creators. Although it doesn’t specialize in live streaming like its predecessor, the GH5 Mark II, it offers superior image quality and a range of features suitable for both live streaming and recorded content.
Setting Up Microphones
Good audio quality is crucial for keeping your audience engaged during a live stream. Selecting the right microphone can make a significant difference in the clarity and professionalism of your broadcast. There are various types of microphones available, each suited for different scenarios and setups.
For solo streams, a USB condenser microphone might be the best choice due to its ease of use and good sound quality. However, if you’re planning to capture audio from multiple sources or need mobility, consider investing in lavalier microphones or a high-quality dynamic microphone.
- USB Condenser Microphone: Plug-and-play, ideal for solo commentators.
- Lavalier Microphone: Great for interviews or when mobility is required.
- Dynamic Microphone: Better for noisy environments or musical performances.
Remember to test your microphone setup before going live to ensure the best audio experience for your viewers. Adjusting the gain and positioning the microphone correctly can help reduce unwanted noise and echo.
When setting up your microphone, refer to the guidance provided by platforms like Google Help, which outlines how to create a YouTube live stream using an encoder. This can be particularly useful if you plan to use external microphones and enhance your broadcast beyond the basics.
Optimizing Lighting
Good lighting is crucial for creating a professional-looking live stream. Proper lighting ensures that your video looks clear and your features are well-defined. Start by assessing the natural light in your streaming space and supplement it with additional light sources as needed.
- Position your main light source in front of you, ideally at a 45-degree angle, to illuminate your face evenly.
- Use fill lights to soften shadows and backlights to separate you from the background.
- Consider the color temperature of your lights; a mix of warm and cool lights can provide a balanced look.
Remember, the goal is to create a flattering, consistent light that enhances the visual quality of your stream without causing glare or harsh shadows.
Adjusting the lighting setup can be a process of trial and error. Take the time to experiment with different configurations to find what works best for you and your streaming environment.
Configuring OBS Studio for YouTube Live Streaming
Downloading and Installing OBS Studio
To begin live streaming on YouTube using your PC, the first step is to download and install OBS Studio. OBS Studio is a powerful, free, and open-source software that is widely used for video recording and live streaming. It’s compatible with Windows, Mac, and Linux, ensuring accessibility for a broad range of users.
Follow these simple steps to get OBS Studio set up on your computer:
- Visit the official OBS Studio website.
- Choose the version compatible with your operating system.
- Click on the ‘Download’ button.
- Once downloaded, run the installer and follow the on-screen instructions.
After installation, it’s crucial to configure OBS Studio with the correct settings for YouTube to ensure a smooth streaming experience. This involves setting up your stream key, video quality, and audio preferences.
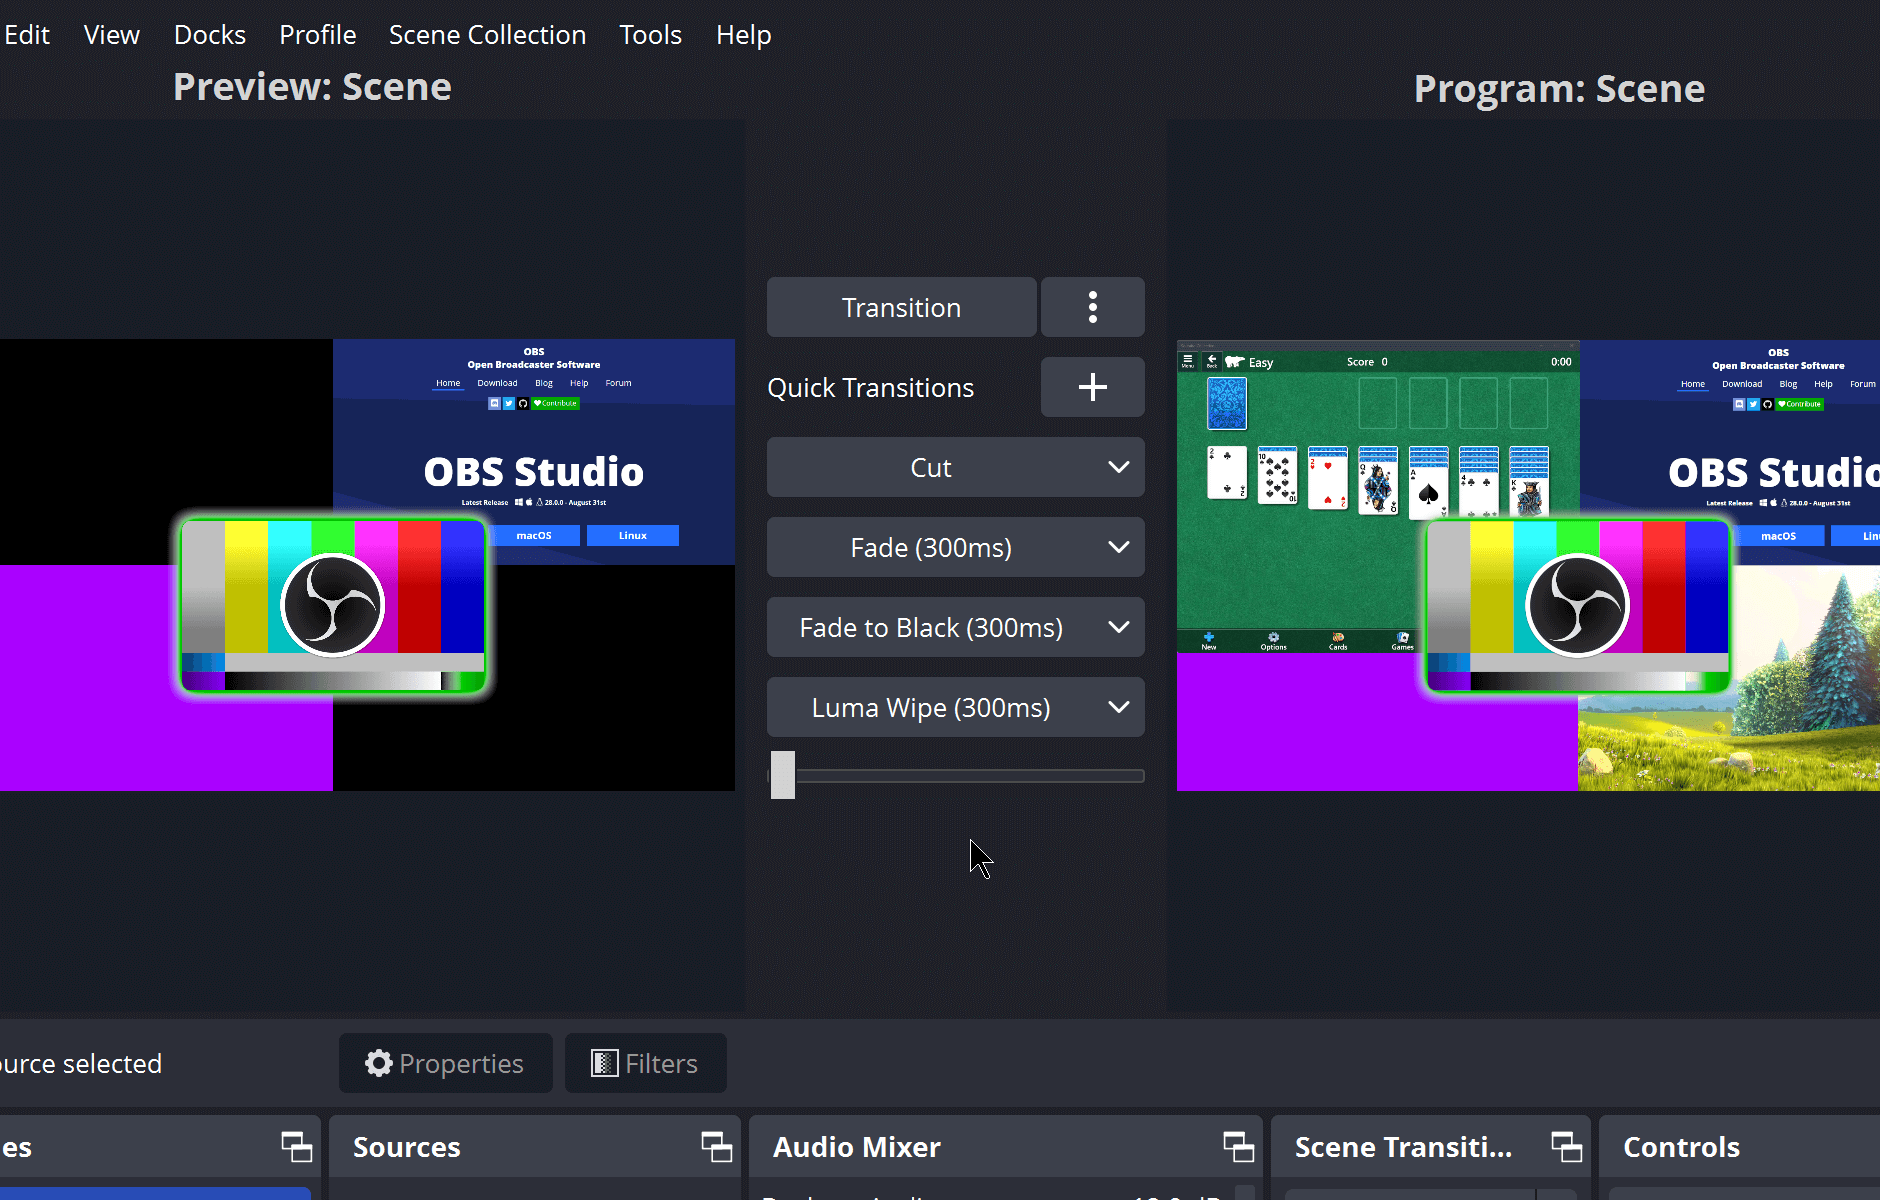
Setting Up OBS Studio for YouTube
Once you’ve downloaded and installed OBS Studio, the next step is to configure it for YouTube live streaming. This involves a few key settings that will ensure your stream is broadcasted smoothly to your audience.
Firstly, you’ll need to obtain your unique YouTube stream key. This key is essential for connecting OBS Studio to your YouTube channel. You can find it by signing into your YouTube account, navigating to the YouTube Studio, and then accessing the Creator Studio section.
- Step 1: Open OBS Studio and go to ‘Settings’.
- Step 2: Select the ‘Stream’ tab.
- Step 3: Choose ‘YouTube / YouTube Gaming’ from the ‘Service’ dropdown menu.
- Step 4: Paste your YouTube stream key into the ‘Stream key’ field.
After entering your stream key, it’s important to adjust the stream settings to match your desired quality and bandwidth capabilities. A balance between video quality and a stable stream is crucial for a good viewer experience.
Remember, a successful live stream relies not just on the content but also on the technical setup. Ensuring that OBS Studio is properly configured will help prevent interruptions and maintain stream quality.
Configuring Stream Settings
Once you have OBS Studio set up, the next crucial step is to configure your stream settings for optimal performance. Adjusting the bitrate, resolution, and frame rate are key to ensuring a smooth and high-quality live stream. A common setup for streaming on YouTube is a bitrate of 2500 to 4000 kbps, a resolution of 1080p, and a frame rate of 30 fps. However, these settings can vary depending on your internet speed and computer’s capabilities.
It’s essential to test your stream settings before going live to avoid any technical issues during your broadcast.
Here’s a quick checklist to help you configure your OBS Studio:
- Determine the optimal bitrate for your connection
- Select the appropriate resolution and frame rate
- Choose an encoder that works best with your hardware
- Configure audio settings for clear sound quality
- Save your settings profile for future streams
Remember, the best OBS Studio settings for broadcasting live streams can differ based on individual needs and equipment. Regularly reviewing and adjusting your settings can lead to a more professional and enjoyable live streaming experience.
Creating Engaging Content for Your Live Streams
Planning Your Content
Before going live, it’s crucial to plan your content meticulously. This ensures that your live stream is structured, engaging, and serves a purpose. Start by defining the goals of your live stream. Are you looking to educate, entertain, or engage in a discussion? Once your objectives are clear, outline the key topics or segments you’ll cover.
- Introduction: Set the tone and introduce the topic.
- Main Content: Dive into the details of your subject matter.
- Interactive Segments: Include Q&A sessions, polls, or live chats.
- Conclusion: Summarize the main points and provide a call to action.
Remember, the success of your live stream heavily relies on the preparation you put into it. A well-planned stream can keep your audience engaged and make them more likely to return for future broadcasts.
Interacting with Your Audience
Interacting with your audience is a pivotal aspect of live streaming. Engagement is the key to retaining viewers and making your live streams more enjoyable. Start by greeting viewers as they join the stream and acknowledge their presence. This can create a welcoming atmosphere and encourage more interaction.
- Respond promptly to comments and questions.
- Acknowledge super chats and contributions.
- Ask for viewers’ opinions and thoughts on the topic.
- Encourage viewers to share the stream with their networks.
Remember, the more you interact with your audience, the more likely they are to stay engaged and participate in your live stream.
It’s also important to moderate the chat to maintain a positive environment. Assigning moderators or using automated tools can help manage the flow of conversation and keep the focus on your content. By fostering a respectful and inclusive community, you’re setting the stage for a successful YouTube Live Streaming experience.
Using Visuals and Overlays
Incorporating visuals and overlays can significantly enhance the professional look and feel of your live streams. Overlays can include your logo, social media handles, and other key graphics that reinforce your brand and provide valuable information to your viewers.
- Use transparent overlays to display chat messages or alerts without obstructing the main content.
- Animated overlays can add dynamism to your stream, capturing viewers’ attention.
- Consistent use of branded overlays across streams helps in building a recognizable visual identity.
Remember, the goal is to add to the viewer’s experience, not distract from the content you’re streaming. Overlays should be well-designed and strategically placed to complement your live stream rather than overwhelm it.
When selecting visuals, consider the tone and topic of your stream. A well-chosen background or theme can set the right mood and make your content more engaging. Keep in mind the balance between aesthetics and functionality; your visuals should make the stream more enjoyable and easy to follow.
Promoting Your Live Streams on YouTube
Creating Compelling Thumbnails
Thumbnails are the first impression viewers have of your live stream, and they can significantly influence the click-through rate. A compelling thumbnail should be eye-catching and representative of the content you’re streaming. Here are some tips to create thumbnails that stand out:
- Use high-resolution images to ensure clarity even on smaller screens.
- Incorporate vibrant colors and contrast to draw attention.
- Add text overlays with a readable font to convey the essence of your stream.
- Keep it simple; avoid clutter that can overwhelm viewers.
Remember, the thumbnail should align with your channel’s branding and the topic of your live stream. It’s also beneficial to maintain consistency in the style of your thumbnails to build a recognizable brand image.
Consistency in thumbnail design not only helps in brand recognition but also assures viewers of the quality content they can expect from your live streams.
Writing Catchy Titles and Descriptions
The title of your live stream is the first impression viewers get, and a well-crafted description provides context that can entice them to watch. Your title should be clear, concise, and reflective of the content, while your description should expand on the title, offering viewers more reasons to join your stream.
- Use action words and strong verbs to grab attention.
- Include relevant keywords for SEO purposes.
- Keep it short and sweet; aim for 60 characters or less for titles.
Remember, the goal is to provide value and intrigue in a few words. Your title and description are your first opportunity to communicate the value of your live stream to potential viewers.
Descriptions can also include important links and hashtags, which help in promoting your stream. Make sure to update your descriptions with any relevant information before going live.
Sharing on Social Media Platforms
Leveraging social media platforms is a powerful strategy to amplify the reach of your YouTube live streams. By sharing your live stream link across different networks, you can tap into a larger audience and drive more viewers to your content.
- Create a consistent posting schedule across all platforms to maintain audience engagement.
- Tailor your message to fit the style and audience of each social media platform.
- Use relevant hashtags to increase visibility and discoverability of your live streams.
Remember, the key is not just to share your stream, but to create a conversation around it. Engage with your audience before, during, and after the live event to build a community around your brand.
By integrating your YouTube Live strategy with your broader social media marketing efforts, you can create a cohesive and powerful online presence. Make sure to track the performance of your shares to understand which platforms and messages yield the best results.
Engaging with Your Viewers During Live Streams
Responding to Comments and Questions
Engaging with your audience through comments is a vital part of live streaming. Respond promptly to comments to show your viewers that you value their participation. This can help foster a sense of community and encourage more interaction.
- Review comments regularly during the stream.
- Acknowledge viewers by name to personalize responses.
- Prioritize questions that add value to the discussion.
Remember, not all comments require a response. Focus on those that contribute to the live stream’s topic or atmosphere.
It’s also important to manage your time effectively when responding. While you want to be interactive, you don’t want it to overshadow the main content of your stream. Set aside specific times for Q&A segments to ensure a balanced experience for your viewers.
Running Polls and Q&A Sessions
Engaging with your audience through polls and Q&A sessions can significantly enhance the interactivity of your live stream. Polls are a great way to gather viewer opinions and can be used to decide on various aspects of your stream in real-time. For Q&A sessions, ensure you have a system in place to monitor and select questions.
- Start by announcing the Q&A segment to your viewers.
- Use the live chat to receive questions.
- Prioritize questions that are most relevant or frequently asked.
Remember to acknowledge your viewers’ participation. It makes them feel valued and more likely to stay engaged.
Running these interactive segments effectively requires attentiveness and quick thinking. Keep the pace lively and the atmosphere friendly to maintain viewer interest throughout the session.
Encouraging Viewer Participation
Viewer participation is the lifeblood of any successful live stream. Engaging your audience in real-time can transform passive viewers into active participants, creating a dynamic and interactive experience. To foster this environment, consider the following strategies:
- Ask open-ended questions to stimulate discussion and encourage viewers to share their thoughts.
- Create interactive polls or quizzes related to your stream’s content, offering a fun way for viewers to engage.
- Challenge viewers with tasks or games that they can participate in during the live stream.
Remember, the goal is to create a sense of community and belonging among your viewers. By doing so, you not only retain their attention but also build a loyal following that looks forward to your next live event.
Incorporating these tactics can lead to a more vibrant and participatory stream. It’s important to acknowledge and respond to participants, as this recognition can encourage others to join in. Keep the conversation flowing and always look for new ways to involve your audience.
Analyzing Performance and Improving Your Live Streams
Monitoring Analytics and Viewership Data
Monitoring your live stream’s analytics and viewership data is crucial for understanding your audience and improving your content. YouTube provides a comprehensive analytics dashboard that offers insights into various metrics such as watch time, viewer demographics, and engagement rates.
To effectively analyze your performance, consider the following key metrics:
- Average live view duration
- Peak concurrent viewers
- Chat messages per minute
- Likes and dislikes
- New subscribers during the stream
By regularly reviewing these metrics, you can identify trends and patterns that inform your content strategy. For instance, if you notice a high drop-off rate early in your streams, it may indicate the need for a more engaging introduction.
Remember to compare your live stream data against your regular video content to gauge the effectiveness of your live streaming efforts. This comparison can help you decide whether to invest more in live content or to refine your approach for better results.
Collecting Feedback from Viewers
Collecting feedback from your viewers is a critical step in refining your live streaming content. Use polls or surveys during your live stream to gather real-time insights into what your audience enjoys and what could be improved. This direct line of communication allows you to tailor your content to viewer preferences, ensuring a more engaging and satisfying experience for your audience.
After your live stream, consider the following methods to collect feedback:
- Review the chat history for comments and suggestions.
- Analyze the responses to any polls or surveys you conducted.
- Reach out to viewers directly via social media or email for more in-depth feedback.
Remember, constructive criticism is invaluable for growth. Embrace it and use it as a tool to enhance your live streaming sessions.
By comparing the feedback over time, you can identify trends and make informed decisions about the direction of your content. This iterative process is key to building a loyal viewership and improving the overall quality of your live streams.
Implementing Changes for Better Streams
After collecting feedback and analyzing your live stream’s performance, it’s crucial to implement changes that will enhance the viewer experience. This iterative process is key to growing your channel and keeping your audience engaged.
- Review the technical aspects of your stream, such as video and audio quality. YouTube support recommends using high-quality equipment to enhance the streaming experience.
- Reflect on the content’s reception. Were certain topics or segments more engaging than others?
- Consider the pacing and structure of your live stream. Is there a good balance between different types of content?
Making incremental improvements based on viewer feedback and data analytics can lead to significant enhancements over time.
Remember, the goal is to create a more enjoyable and professional streaming experience for your viewers. Regular updates to your setup and content, informed by data and feedback, will help you stay ahead of the curve and maintain a loyal viewership.
Conclusion
In conclusion, live streaming on YouTube using your PC is a powerful tool for engaging with your audience, sharing your content, and building a community. By following the steps outlined in this guide, you can enhance your live streaming experience, reach a wider audience, and create high-quality content. Remember to stay consistent, interact with your viewers, and continuously improve your streaming setup. Embrace the world of live streaming and unlock the full potential of connecting with your audience on YouTube.
Frequently Asked Questions
How do I create a YouTube Channel for Live Streaming?
To create a YouTube Channel for Live Streaming, you need to sign in to your Google Account, navigate to YouTube, click on your profile icon, select ‘Your Channel’, and follow the on-screen instructions to create your channel.
What equipment do I need for Live Streaming on YouTube?
You will need a high-quality camera, microphones for clear audio, and proper lighting to ensure good video quality for your Live Streams on YouTube.
How do I download and install OBS Studio for YouTube Live Streaming?
To download and install OBS Studio for YouTube Live Streaming, visit the OBS Studio website, choose your operating system, download the installer, and follow the installation instructions.
How can I engage with my audience during Live Streams?
You can engage with your audience during Live Streams by planning interactive content, responding to comments and questions, and using visuals and overlays to enhance viewer experience.
How do I promote my Live Streams on YouTube?
To promote your Live Streams on YouTube, create compelling thumbnails, write catchy titles and descriptions, and share your streams on social media platforms to reach a wider audience.
How can I improve the performance of my Live Streams?
To improve the performance of your Live Streams, monitor analytics and viewership data, collect feedback from viewers, and implement changes based on the feedback to enhance the quality of your streams.
How do I enable Live Streaming on my YouTube Channel?
To enable Live Streaming on your YouTube Channel, you must verify your channel, navigate to the YouTube Studio, select ‘Go Live’, and follow the steps to enable Live Streaming for your channel.
What should I do to encourage viewer participation during Live Streams?
To encourage viewer participation during Live Streams, you can run polls and Q&A sessions, interact with viewers in real-time, and create opportunities for audience engagement throughout your stream.
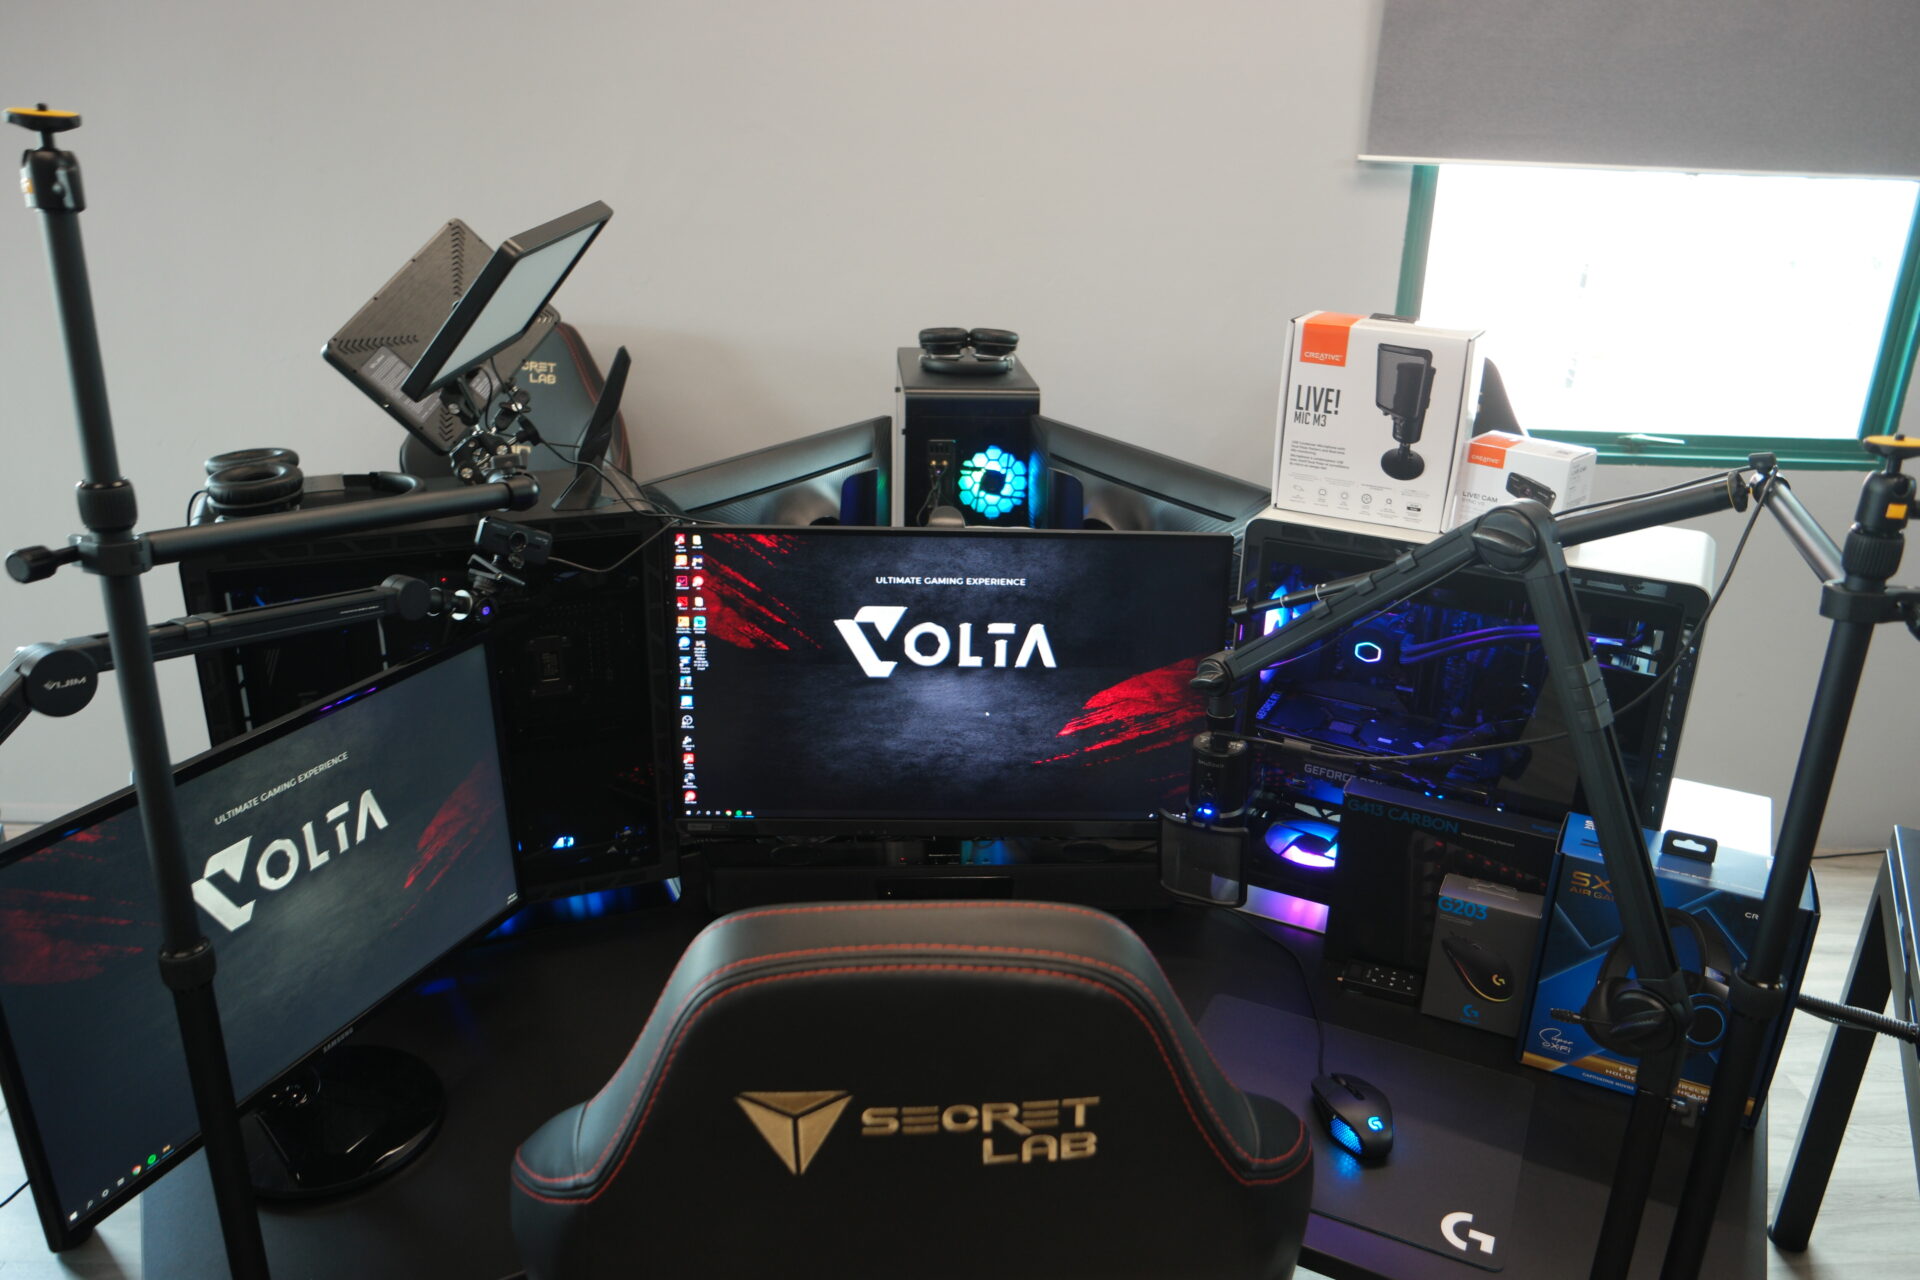
Looking for new PC for Youtube Live Sreaming?
Are you ready to elevate your YouTube live streaming experience? Look no further! At Volta PC, we understand that live streaming requires a powerful and reliable PC that fits within your budget. That’s why we offer a diverse range of options that cater to every need and budget. Whether you’re just starting out or you’re a seasoned streamer looking to upgrade, we can customize a PC that’s perfect for you. Don’t let hardware limitations hold you back from delivering high-quality content to your audience. Reach out to Volta PC today, and let us help you find the ideal setup that balances performance with affordability. Stream smarter, not harder, with Volta PC!