When your custom PC fails to boot up, it can be a source of frustration and confusion. However, by methodically following a series of troubleshooting steps, you can identify and resolve the issue. This article outlines five essential steps to diagnose and fix common startup problems that prevent your custom PC from turning on. With a bit of patience and some technical know-how, you’ll be able to get your system up and running in no time.
Key Takeaways
- Ensure the power source is functioning correctly and that your PC is plugged in properly, avoiding the use of surge suppressors or power strips if possible.
- Check all internal wiring connections within your PC to ensure they are secure and properly connected to the motherboard and components.
- Verify that the power button is operational and that the motherboard lights are on to eliminate any issues with the case’s power switch.
- Inspect monitor connections to confirm that the display is correctly connected to your PC and powered on, as display issues can mimic a non-booting PC.
- Test each hardware component individually, particularly RAM, graphics card, and CPU, to identify if a specific part is preventing the system from booting.
1. Check Your Custom PC Power Source
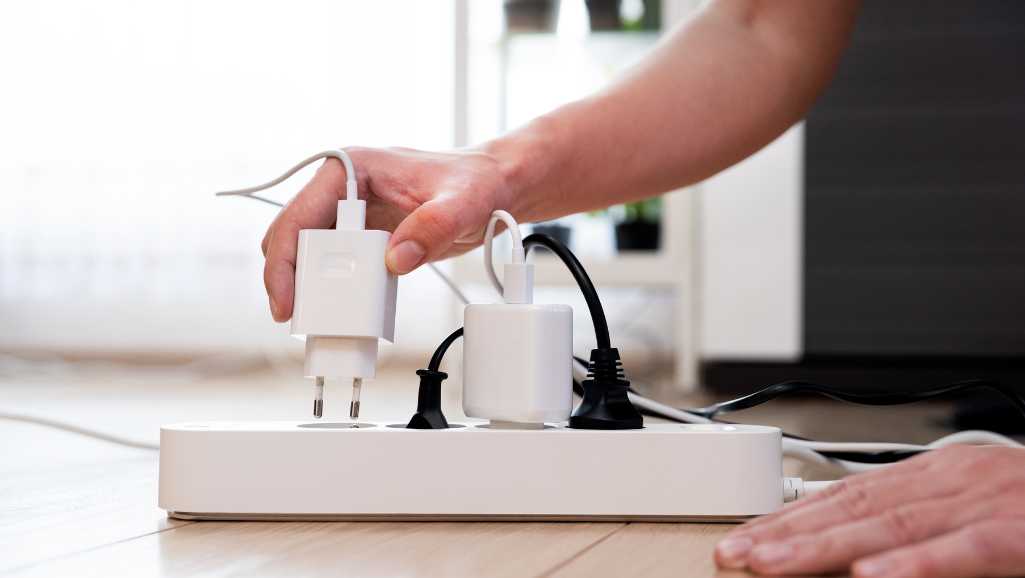
When your custom PC fails to boot, the power source is the first thing to scrutinize. Ensure that the power cable is securely connected to both the power supply unit (PSU) and the wall socket. It’s not uncommon to overlook the simple step of turning on the wall switch or the PSU switch.
Next, examine the PSU switch located at the back of your computer case. The switch should display a ‘0’ and ‘1’—confirm that it is set to ‘1’, indicating the power is on. If these steps don’t resolve the issue, consider the possibility of a faulty power cable or a malfunctioning PSU.
To further diagnose the problem, you can perform a test with an alternative power supply if one is available. This step can help determine if the original PSU is defective. Remember, a dead power supply is a rare occurrence, but it’s not outside the realm of possibility.
2. Inspect Internal Wiring
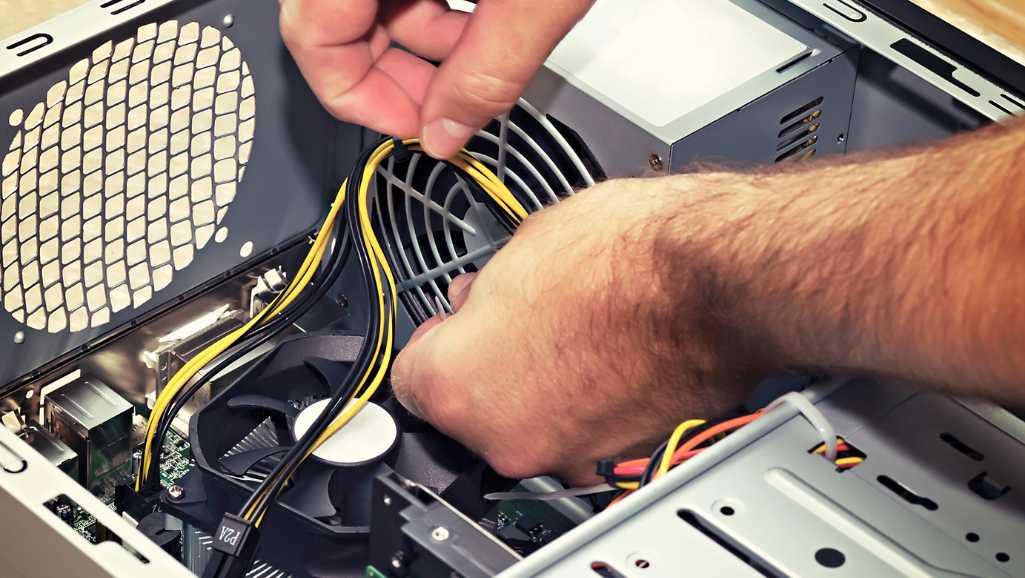
Once you’ve confirmed that the power source is not the issue, the next logical step is to inspect the internal wiring of your custom PC. Loose or improperly connected cables can prevent your system from booting up. It’s crucial to check each connection, starting with the main 24-pin power cable to the motherboard, ensuring it’s securely fastened.
- Check the main memory (RAM) to ensure it’s properly seated.
- Verify that the CPU power cable is connected.
- Inspect the SATA cables for secure connections to storage devices.
- Ensure the GPU is firmly in place and powered.
If you’re working with a prebuilt system, be aware that opening your PC might void the warranty. In such cases, it’s advisable to seek guidance from the system manufacturer before proceeding. For those who have built their PC, make sure all components click into place and no cables are left dangling or loosely connected.
3. Power Button
When your custom PC fails to boot, the power button could be a culprit. It’s essential to ensure that the power button is functioning correctly and that the cable connecting it to the motherboard is secure. If the motherboard lights are on but the fans remain still, the issue may lie with the power button or its connection.
To test the power button, you can try the following steps:
- Check the power button cable for any signs of damage or loose connections.
- If the cable appears intact, attempt to jump the power button header on the motherboard to bypass the button itself.
- In cases where the power button is faulty, consider wiring the reset button to the power switch headers as a temporary solution.
If your motherboard has an onboard power button, use it to start the PC. This can help you determine if the problem is with the case’s power button or another component. Remember, if the motherboard is beeping, it’s an indication of a different issue that needs attention.
4. Monitor Connections
When your custom PC won’t boot up, one critical checkpoint is the monitor connections. Ensure that the monitor is securely connected to your graphics card and that the power cable is firmly plugged in and switched on. It’s not uncommon for issues to arise from simple oversights, such as an unplugged cable or a monitor that’s not powered on.
If you’ve confirmed that the monitor and cables are in working order, consider the following troubleshooting steps:
- Double-check that the monitor cable is properly connected to the graphics card, not the motherboard.
- Try connecting the monitor to a different port on the graphics card if available.
- Use another monitor or a different video cable to determine if the issue is with the monitor itself.
By methodically checking each connection, you can eliminate the monitor as the source of boot-up problems.
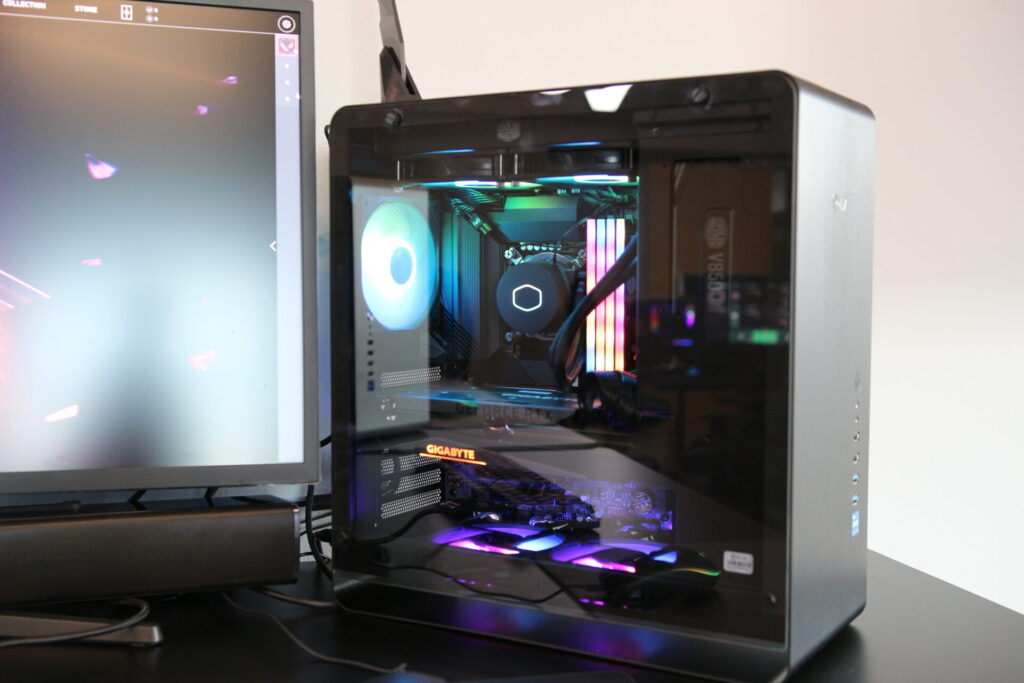
5. Components
When your custom PC won’t boot up, it’s crucial to test each component individually. This step is different from checking power cables; it involves ensuring that each piece of hardware is properly communicating with the motherboard.
- Reseat hardware components: Turn off the PC and unplug it. Open the case and carefully reseat the RAM, GPU, and CPU in their respective slots.
- Minimal configuration test: Disconnect all non-essential hardware. Boot with just the CPU, one RAM stick, motherboard, and GPU (if applicable) to rule out hardware conflicts.
If the issue persists, systematically remove and test each component. Start with the RAM, then the graphics card, and finally the CPU. Remember, reseating the CPU should be a last resort due to its complexity.
Conclusion
Troubleshooting a custom PC that won’t boot up can be a daunting task, but by following the structured approach outlined in this article, you can systematically narrow down the issue. Starting with the power source and moving through internal wiring, power button checks, disconnecting non-essentials, and finally testing individual components, you’re equipped to identify and resolve most startup problems. Remember, patience and careful attention to detail are your allies in this process. If you’ve exhausted these steps without success, seeking professional help may be the next best course of action. Keep this guide handy for future reference, and may your custom PC serve you well for many gaming sessions to come.
Don’t settle for less than the Good Custom PC in Singapore.
With Volta PC, you get more than just components. We offer:
- Expert advice to match the ideal system to your needs.
- Customized PC builds that maximize performance and reliability.
- Exceptional support to keep your tech investment running smoothly.
Plus, if your trusted computer has left you stranded, Volta PC Upgrade & Repair is your solution for fast, affordable, and expert troubleshooting.