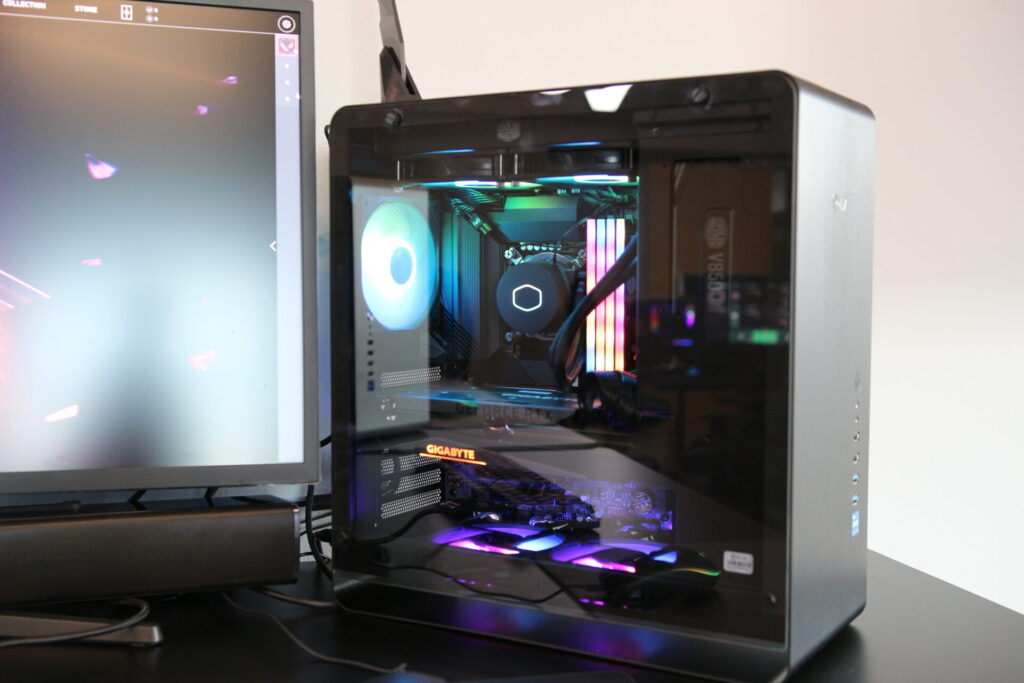
Building your own PC can be a rewarding experience that allows you to customize your machine to suit your specific needs. From choosing the right components to installing the operating system, each step plays a crucial role in the final outcome of your build. Follow this step-by-step guide to build your own PC with confidence and precision.
Key Takeaways
Choose components carefully to ensure compatibility and performance.
Proper cable management is essential for optimal airflow and aesthetics.
Consider your cooling needs and budget when selecting a cooling system.
BIOS settings can impact system performance and stability, so configure them wisely.
Take your time during the assembly process to avoid mistakes and ensure a successful build.
Choosing the Right Components
Processor Selection
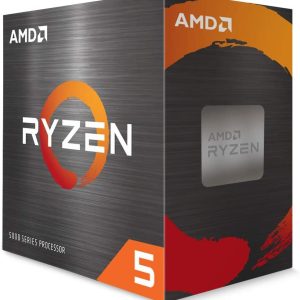
Selecting the right CPU (Central Processing Unit) for your computer can be as crucial as choosing the best pair of shoes for a marathon. It’s about finding the perfect balance between performance and budget. The processor is the heart of your PC, dictating the overall speed and responsiveness of the system.
When considering a CPU, think about the core count and clock speed. More cores can handle more tasks simultaneously, which is great for multitasking or heavy workloads like video editing. Clock speed, measured in gigahertz (GHz), affects how quickly a CPU can process information.
It’s also important to consider future-proofing your build. Opting for a CPU with upgrade potential can save you from needing a complete overhaul down the line.
Here’s a quick reference to help you compare some common CPU specifications:
Choosing the right graphics card is crucial for both gamers and professionals. The market offers a wide range of options, from budget cards to high-end models. Performance and budget are key factors in this decision. For gaming, a card with high frame rates and VR capabilities might be essential, while for video editing, one with ample memory and strong compute performance would be preferable.
When considering graphics card options, it’s important to look at the card’s memory, clock speed, and cooling solutions. Here’s a simple comparison table for three popular models:
Model
Memory
Clock Speed
Cooling Type
GTX 1650
4GB GDDR5
1485 MHz
Single Fan
RTX 3060
12GB GDDR6
1320 MHz
Dual Fan
RTX 4090
24GB GDDR6X
2235 MHz
Triple Fan
Remember, the latest and most powerful graphics card might not always be the best choice for your needs. It’s essential to balance performance with cost, and consider how the card fits with your other components.
Compatibility with your motherboard and power supply is also a critical consideration. Ensure that the card’s interface (usually PCIe) is supported by your motherboard and that your power supply can handle the card’s power requirements.
Ensuring that your chosen motherboard fits your PC case is crucial. Motherboard form factors such as ATX, mATX, and Mini-ITX dictate the size and layout of the board, and thus, the type of case they can be installed in. For example, while ATX mid-tower cases are versatile, supporting both ATX and mATX motherboards, Mini-ITX motherboards are only compatible with mini-ITX PC cases.
It’s important to check the motherboard’s specifications for the number of RAM slots, expansion slots, and type of sockets for CPU compatibility. These factors will determine the potential for future upgrades and the choice of other components.
Additionally, consider the I/O ports and headers available on the motherboard. This will affect the connectivity options for your peripherals and internal components. A list of common motherboard ports includes:
USB 3.0/3.1/3.2
HDMI/DisplayPort
Ethernet
Audio jacks (Line in, Line out, Mic)
PS/2 for older keyboards and mice
Remember to also verify the power supply compatibility, as some motherboards require more power connectors than others.
Once you have your PC case ready, installing the power supply (PSU) is your next step. It’s crucial to ensure that the PSU is compatible with your case size and has all the necessary connectors for your components.
First, align the PSU with the case’s power supply bay, making sure the fan faces the correct direction for ventilation.
Secure the PSU using the screws provided, typically at the four corners of the unit.
Connect the power cables to the motherboard, graphics card, and any other components that require power. Be mindful to only plug in the cables you need to avoid clutter.
Remember to handle the PSU with care and unplug all those power cables from the components before you start. This will prevent any accidental shorts or damage to your hardware during installation.
Mounting the Motherboard
Once you have your PC case prepared, it’s time to install the motherboard. This is a critical step as it forms the foundation for all other components. Begin by placing the I/O shield in the back of the case; this will align with the ports on your motherboard.
Locate the standoffs in your PC case and ensure they match the holes on your motherboard.
Gently place the motherboard onto the standoffs, aligning it with the I/O shield.
Secure the motherboard with screws, but do not overtighten as this may damage the board.
It’s important to handle the motherboard with care to avoid any static damage. Make sure you’re grounded by touching a metal part of the case before handling the motherboard.
After the motherboard is securely in place, double-check all connections and ensure there are no loose screws or components that could cause a short circuit.
Connecting Front Panel Cables
Once the motherboard is securely mounted, it’s time to connect the front panel cables. These small connectors link the case’s buttons and LEDs to the motherboard, allowing for power, reset, and HDD activity signals.
Step 1: Locate the front panel header on the motherboard. This is usually found at the bottom-right corner.
Step 2: Refer to the motherboard’s manual to identify each pin’s function.
Step 3: Carefully align and connect the cables. The power and reset switches can be plugged in any direction, but the LED connectors have polarity.
Ensure that all cables are connected securely and none are obstructing other components or airflow.
If you encounter any resistance or confusion, double-check the manual. A proper connection is crucial for the system to function correctly.
Installing Storage Devices
SSD vs HDD
When considering storage options for your custom PC, the choice between an SSD (Solid State Drive) and an HDD (Hard Disk Drive) is crucial. SSDs are known for their speed and efficiency, offering faster data access and boot times. In contrast, HDDs are typically more affordable and offer larger storage capacities.
Speed: SSDs have significantly faster read/write speeds compared to HDDs.
Durability: SSDs have no moving parts, making them more durable and less prone to mechanical failure.
Price: HDDs generally cost less per gigabyte than SSDs.
Capacity: HDDs are available in larger capacities, making them ideal for bulk storage.
When building a PC, it’s important to balance your storage needs with performance and budget. An SSD can greatly enhance the responsiveness of your system, while an HDD can be used for additional, less speed-critical storage.
For most users, a combination of both types of drives will provide a good balance between cost, performance, and storage capacity. Consider using an SSD for your operating system and most-used applications, and an HDD for storing large files and backups.
Installing an M.2 SSD is a straightforward process that can significantly improve your PC’s performance. Before you begin, ensure that your motherboard has an M.2 slot and that it supports the size and interface of your SSD.
Locate the M.2 slot on your motherboard, which is usually near the PCIe slots.
Remove the screw from the M.2 slot, if present.
Carefully insert the M.2 SSD into the slot at a 30-degree angle.
Gently press down on the SSD until it lies flat against the motherboard.
Secure the SSD with the screw you previously removed.
Remember, handling your M.2 SSD with care is crucial. Static electricity can damage the components, so it’s advisable to use an anti-static wrist strap or ensure you are grounded before touching the SSD.
After installation, you’ll need to configure your BIOS to recognize the new drive, which is typically done automatically. However, you may need to adjust the boot order if you’re using the M.2 SSD as your primary storage device.
SATA Cable Connections
With your storage devices in place, it’s time to connect them to the motherboard using SATA cables. These cables are crucial for data transfer between the storage devices and the motherboard. Ensure that the SATA cable from your SSD or HDD is securely connected to an available SATA port on the motherboard. The other end of the cable should be attached to the storage device itself.
It’s important to manage your cables properly to avoid a cluttered case which can impede airflow.
For power, the storage devices will require a connection from the power supply. Locate the SATA power cable coming from your power supply and connect it to the corresponding port on your storage device. This will ensure your device receives the necessary power to operate.
Remember to consult your motherboard’s manual for the exact location of the SATA ports and to understand the best way to route your cables for optimal airflow and organization within the case.
Setting Up the Cooling System
Air Cooling vs Liquid Cooling
When deciding between air cooling and liquid cooling for your PC, it’s essential to consider your needs and preferences. Air coolers are generally more affordable and easier to install, making them a great choice for beginners or those on a budget. On the other hand, liquid coolers tend to offer better thermal performance and can be quieter, though they come at a higher cost and complexity.
Liquid cooling systems, especially All-In-One (AIO) units, are often considered for builds that aim for higher overclocking or have limited airflow. However, there isn’t a significant performance difference between good air coolers and good AIO liquid coolers, although liquid coolers generally have a slight edge.
When choosing your cooling solution, consider not only the performance but also factors like system noise, maintenance, and the aesthetics of your build.
Here’s a quick comparison to help you decide:
Air Cooling: Simpler, usually less expensive, low maintenance.
Liquid Cooling: Potentially better cooling, quieter operation, more complex installation.
Once you have your motherboard in place, the next critical step is to install the CPU cooler. Proper installation is crucial to ensure that your processor remains cool during operation. Follow these general steps to secure your cooler onto the CPU:
Apply a pea-sized amount of thermal paste to the center of the CPU if your cooler does not come with pre-applied paste.
Align the cooler with the mounting bracket or holes around the CPU socket.
Secure the cooler using the provided screws or clips, ensuring even pressure across the CPU surface.
Connect the cooler’s power cable to the appropriate header on the motherboard.
Remember, the goal is to achieve a firm mount without overtightening, which could damage the CPU or motherboard.
After installation, double-check that the cooler is stable and that the fan can rotate freely without obstruction. It’s also a good time to manage any cables to improve airflow and aesthetics inside the case.
Proper fan placement is crucial for maintaining an optimal cooling environment inside your PC case. The general rule of thumb is to create a balanced airflow that facilitates the movement of cool air in and the expulsion of hot air out. For most builds, this involves placing intake fans at the front and bottom of the case, and exhaust fans at the rear and top.
Front/bottom: Intake fans pull cool air into the case.
Rear/top: Exhaust fans expel hot air from the case.
It’s important to consider the size and number of fans your case can support. Here’s a simple guide:
Case Size
Intake Fans
Exhaust Fans
Mid-Tower
2-3
1
Full Tower
3-4
2
Ensuring that your PC has a good balance between intake and exhaust fans will significantly improve thermal performance and prevent overheating.
Remember to check the direction of airflow for each fan before installation. Most fans have arrows indicating the direction of airflow and rotation. Aligning your fans correctly will maximize the efficiency of your cooling system.
Configuring BIOS Settings
Boot Order Configuration
Configuring the boot order in your PC’s BIOS is a critical step in setting up your system. The boot order determines which devices are checked first when the computer starts up. If you’re installing a new operating system or troubleshooting, you may need to change this order.
To modify the boot order, you’ll typically need to enter the BIOS setup during the initial boot sequence. This is usually done by pressing a key such as F2, Del, or Esc. Once inside the BIOS menu, look for a tab or section labeled ‘Boot’ or something similar. Here’s a basic list of steps you might follow:
Restart your computer and enter the BIOS setup.
Navigate to the ‘Boot’ tab or menu.
Select the device you want to boot first, often your hard drive or USB drive.
Use the designated keys to change the order, such as +/- or arrow keys.
Save your changes and exit the BIOS setup.
Remember, the exact steps can vary depending on your motherboard’s brand and BIOS version. Always refer to your motherboard’s manual for specific instructions.
After setting the boot order, your computer will check the selected device for bootable media. If none is found, it will proceed to the next device in the order. This process is especially important when creating a dual-boot system or diagnosing hardware issues.
Overclocking Options
Overclocking your CPU can lead to significant performance gains, especially for tasks like gaming and video editing. It’s essential to proceed with caution to avoid damaging your components. Before you start, make sure you have a reliable cooling system in place, as overclocking generates additional heat.
Research your CPU’s limits and start with small frequency increments.
Monitor system stability and temperatures after each adjustment.
Use benchmarking tools to measure performance improvements.
Overclocking is not a one-size-fits-all process; it requires patience and attention to detail. Each CPU and system will have its own threshold for stable overclocking.
Remember to update your BIOS to the latest version, as manufacturers often release updates that can improve overclocking capabilities. Keep in mind that overclocking may void your warranty, so it’s important to weigh the risks and benefits.
Fan Speed Control
After ensuring your system’s boot order and overclocking configurations are in place, it’s time to focus on fan speed control. This aspect is crucial for maintaining an optimal temperature for your PC’s components, especially under heavy load.
Most modern BIOS interfaces offer straightforward options for adjusting fan speeds. You can typically find these settings under the ‘Hardware Monitor’ or ‘PC Health Status’ sections. Here, you can set the fan speed to a fixed value, or choose a dynamic mode that adjusts the speed according to the system temperature.
If your BIOS doesn’t display power options for fan settings, don’t worry. There are alternative methods to manage your fans:
Using the BIOS Settings: Boot your computer and search for the fan settings. Once found, you can change the fan settings and then proceed to the ‘Exit’ menu to save your changes.
Software Solutions: Many motherboard manufacturers offer software that allows you to control fan speeds from within the operating system.
Hardware Fan Controllers: These are physical devices that fit into a drive bay and let you manually adjust fan speeds.
Remember, setting the fans too low can lead to overheating, while setting them too high can create unnecessary noise. Finding the right balance is key to a well-functioning PC.
Installing Operating System
Creating Bootable USB
Before installing your operating system, you’ll need to create a bootable USB drive. This drive will contain the installation files necessary to load the OS onto your new PC. Ensure your USB drive has at least 8GB of storage and is formatted correctly before proceeding.
To create a bootable USB, you’ll need to download the OS installation media from the official website. Once downloaded, use a tool like Rufus or the Windows USB/DVD Download Tool to write the image to your USB drive. Follow these steps:
Insert your USB drive into a working computer.
Open the bootable USB tool and select your USB drive from the list.
Browse for and select the downloaded OS image file.
Choose the appropriate system partition scheme and file system.
Click ‘Start’ to begin the writing process.
After the process is complete, safely eject the USB drive. This will prevent any data corruption and ensure that your bootable USB is ready for use.
Remember, creating a bootable USB on a Mac involves different steps, such as using the Terminal and specific commands as outlined in Apple Support documentation.
Installing Windows 10
With the bootable USB drive ready, you’re set to install Windows 10. Insert the USB into a USB port and restart your PC. Upon startup, enter the BIOS setup (usually by pressing a key like F2, Del, or Esc) and set the USB drive as the first boot device.
Follow the on-screen instructions to begin the installation process. You’ll be prompted to select language, time, and keyboard preferences before proceeding to the installation type. Choose ‘Custom: Install Windows only (advanced)’ for a fresh install.
During the installation, your computer will restart several times. Ensure that the boot order remains set to the USB drive until Windows is fully installed.
After Windows is installed, you’ll need to remove the USB drive and set the hard drive or SSD as the first boot device in the BIOS. This will allow your PC to boot from the new Windows installation. Complete the initial setup by creating a user account, setting a password, and adjusting your settings as desired.
Driver Installation
With the operating system in place, the next critical step is to install the necessary drivers to ensure your hardware is fully functional and optimized. Drivers are the software components that let the operating system communicate with the hardware devices. It’s essential to install the latest drivers, especially for your graphics card, motherboard, and network adapters.
Start by visiting the manufacturer’s website for each component.
Download the latest drivers for your specific model.
Run the installation wizards and follow the on-screen instructions.
Ensure that you restart your computer after installing each driver to complete the setup process and apply any changes.
Regularly check for driver updates to maintain system stability and performance. Remember, outdated drivers can lead to hardware malfunctions and decreased performance. For detailed guidance on device and driver installation, refer to official resources like the Microsoft Learn website.
Conclusion
In conclusion, building your own PC can be a rewarding and fulfilling experience. By following the step-by-step guide outlined in this article, you can customize your PC to meet your specific needs and preferences. From selecting the right components to assembling them together, the process of building a PC allows you to learn valuable skills and gain a deeper understanding of how computers work. So, roll up your sleeves, gather your tools, and embark on the journey of building your very own PC today!
Frequently Asked Questions
What components do I need to build a PC?
You will need a processor, graphics card, motherboard, RAM, storage devices, power supply, case, and cooling system.
Do I need to choose specific components for compatibility?
Yes, it is important to ensure that all components are compatible with each other, especially the motherboard and processor.
What tools are required to assemble a PC?
Common tools include screwdrivers, thermal paste, cable ties, and an anti-static wrist strap.
How long does it take to build a PC?
The time it takes to build a PC can vary, but it typically takes a few hours for beginners and less time for experienced builders.
Is it necessary to overclock the CPU?
Overclocking is not necessary but can provide performance boosts if done correctly and with adequate cooling.
Can I install multiple operating systems on the same PC?
Yes, you can set up a dual-boot system to run multiple operating systems on the same PC.
How do I troubleshoot common PC building issues?
Common troubleshooting steps include checking connections, reseating components, updating drivers, and consulting online resources.
What is the average cost of building a custom PC?
The cost of building a custom PC can vary widely depending on the components chosen, but a mid-range build typically ranges from $800 to $1500.
Building your own PC can be an exciting and rewarding experience, but it’s not for everyone. If you love the idea of customizing your PC but aren’t sure where to start or simply prefer not to tackle the assembly yourself, Volta PC has the perfect solution for you. Choose your parts, and let us do the building! At Volta PC, we offer the flexibility to select your preferred components, from processors to graphics cards, ensuring your PC is tailor-made to suit your needs and preferences. Whether you’re aiming for ultimate gaming performance, professional-grade creativity power, or reliable everyday computing, we’ve got you covered. Skip the hassle and uncertainty of DIY assembly—let Volta PC build your dream machine. Contact us today and embark on a custom PC journey that combines the best of both worlds: your vision, expertly crafted by us.

 AMD Ryzen 5 7500F with Wraith Stealth Cooler$255.00 w/GST
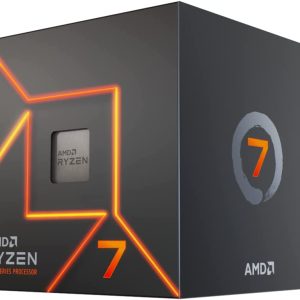 AMD Ryzen 7 8700F with Wraith Stealth Cooler$455.00 w/GST
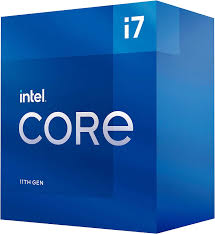 Intel i7 11700$478.00 w/GST
 Intel i5 10400F$232.00 w/GST
 Intel i3 10100F$156.00 w/GST
 MSI GeForce RTX 4080 SUPER 16G EXPERT$1,799.00 w/GST
 MSI GeForce RTX 3050 VENTUS 2X 6G OC$295.00 w/GST
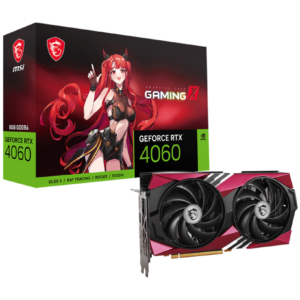 MSI GeForce RTX 4060 GAMING X 8G MLG$539.00 w/GST
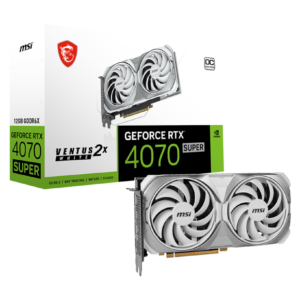 MSI GeForce RTX 4070 SUPER 12G VENTUS 2X WHITE OC$1,005.00 w/GST
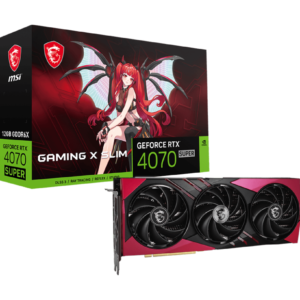 MSI GeForce RTX 4070 SUPER 12G GAMING X SLIM MLG$1,089.00 w/GST
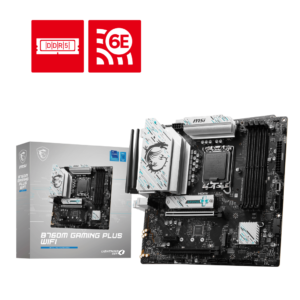 B760M GAMING PLUS WIFI DDR5$255.00 w/GST
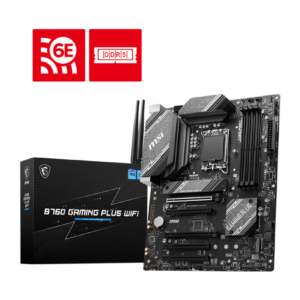 B760 GAMING PLUS WIFI DDR5$279.00 w/GST
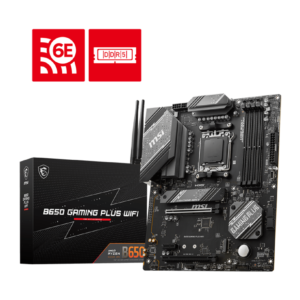 B650 GAMING PLUS WIFI DDR5$329.00 w/GST
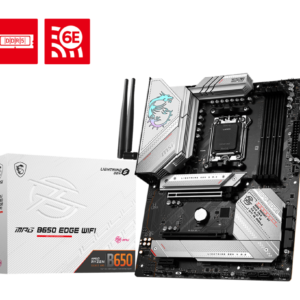 MPG B650 EDGE WIFI DDR5$469.00 w/GST
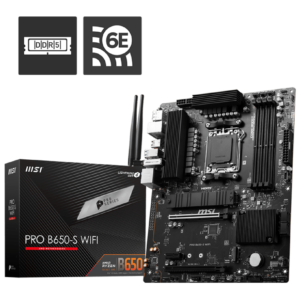 MSI PRO B650-S WIFI DDR5$329.00 w/GST
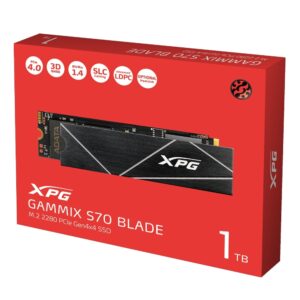 XPG GAMMIX S70 Blade 1TB PCIe Gen4x4 (Separated Heatsink)$119.00 w/GST
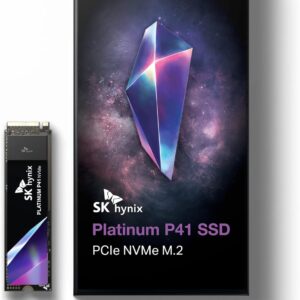 SK hynix Platinum P41 2TB PCIe NVMe Gen4 M.2$239.00 w/GST
 XPG GAMMIX S70 Blade 4TB PCIe Gen4x4 (Separated Heatsink)$425.00 w/GST
 XPG GAMMIX S70 Blade 2TB PCIe Gen4x4 (Separated Heatsink)$199.00 w/GST
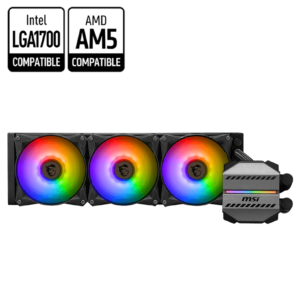 MSI MAG CORELIQUID M360$179.00 w/GST
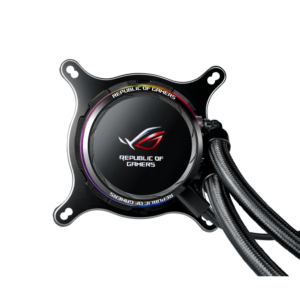 ASUS ROG RYUO 240 OLED AIO CPU COOLER (3Y)$339.00 w/GST
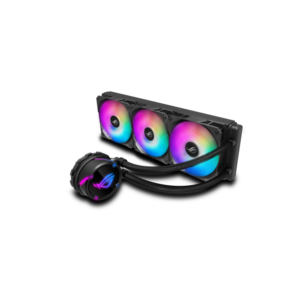 ASUS ROG STRIX LC 360 RGB EDITION (5Y)$359.00 w/GST
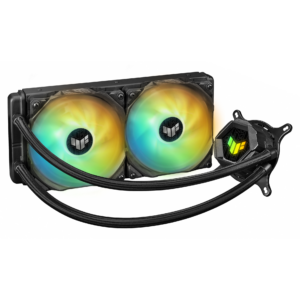 ASUS TUF GAMING LC 240 ARGB (5Y)$179.00 w/GST
 ASUS ROG STRIX LC II 240 ARGB AIO CPU COOLER (6Y))$299.00 w/GST
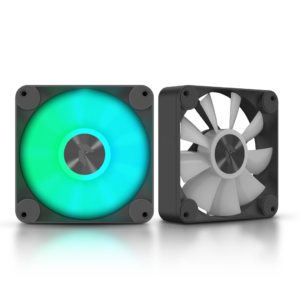 APNX FP1-120 PWM ARGB Black 30mm (2Y) 74.6 CFM (3 Pack)$60.00 w/GST
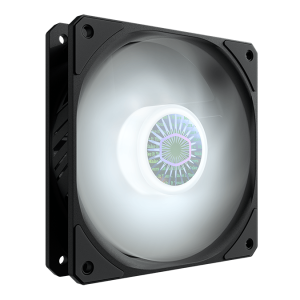 Cooler Master SICKLEFLOW 120 WHITE$19.00 w/GST
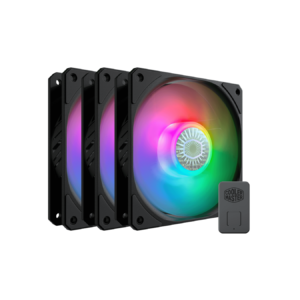 Cooler Master SICKLEFLOW 120 ARGB$25.00 w/GST
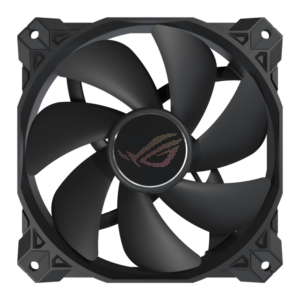 ASUS ROG STRIX XF120 PWN FAN (5Y)$49.00 w/GST
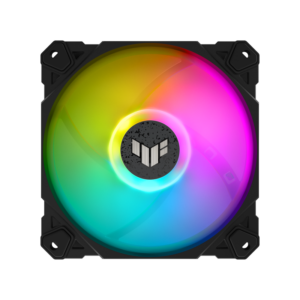 ASUS TUF GAMING TF120 ARGB FAN – (2Y)$49.00 w/GST