Welcome to the exciting journey of PC building! This guide is tailored specifically for beginners who are intrigued by the idea of assembling their own computers. Building a PC might seem daunting at first, but it’s a surprisingly accessible and rewarding venture. Firstly, let’s debunk a common myth: You don’t need to be a tech wizard to build a PC.
In fact, with the right guidance and a bit of patience, anyone can put together a personal computer.
The benefits of building your own PC are numerous. Firstly, it allows for complete customization. Unlike off-the-shelf models, a self-built PC gives you the freedom to choose each component based on your specific needs and budget. This means you can prioritize certain features like gaming performance, graphic designing capabilities, or simply a robust work machine.
Moreover, assembling a PC can be more cost-effective than purchasing a pre-built one. It often allows for better value for money as you can select components that offer the best performance within your budget. Additionally, the knowledge gained from building your own PC is invaluable. You’ll learn about the inner workings of a computer, making future upgrades or troubleshooting much easier.
Furthermore, the process itself can be quite enjoyable and satisfying. There’s a certain thrill in seeing your carefully selected components come together to form a functioning machine. Whether it’s for gaming, work, or creative projects, building a PC tailored to your needs can enhance your computing experience significantly.
In conclusion, the process of a beginner building a PC is not only feasible but also immensely rewarding. This guide will walk you through each step, ensuring you have all the information needed to embark on this exciting project. Let’s dive into the world of PC building and unleash the potential of your very own custom computer!
Can a Beginner Build a PC?
Absolutely, a beginner can build a PC. The process, while it may seem daunting at first, is quite approachable, even for those with little to no prior experience in computer assembly. Here’s why:
- Step-by-Step Guides: The internet is filled with comprehensive guides and tutorials that break down the entire building process into manageable steps. These resources make it easy for beginners to follow along and understand each stage of the build.
- Component Compatibility and Selection Tools: Tools like PCPartPicker help beginners ensure all their selected components are compatible. This eliminates one of the biggest challenges in PC building – ensuring all parts work together.
- Community Support: Online forums and communities are incredibly supportive of new builders. Platforms like Reddit’s r/buildapc offer a place for beginners to ask questions and get advice from more experienced builders.
- Modular Design of Components: Modern PC components are designed to be user-friendly, with most parts easily fitting into place without the need for specialized tools or knowledge.
- Learning and Customization: Building a PC offers a learning experience that pre-built computers can’t match. It allows beginners to understand their computer’s functionality and tailor their build to their specific needs, whether for gaming, work, or creative projects.
- Satisfaction and Skill Development: There’s a significant sense of achievement in building your own PC. It also develops problem-solving and technical skills that are valuable in today’s technology-driven world.
In summary, not only is it possible for a beginner to build a PC, but it is also an educational and rewarding process. With the wealth of resources available and the supportive community, anyone motivated to learn can successfully build their own computer.
Understanding PC Components
Embarking on your first journey to build a PC can be thrilling. As a beginner in PC building, grasping the basics of key components is crucial. This section will delve into the core elements that make up a computer, offering insights that balance depth with simplicity.
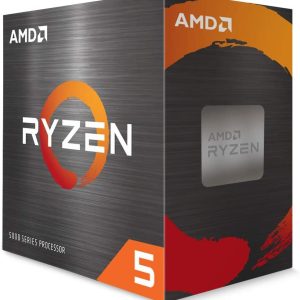
Central Processing Unit (CPU)
-
 AMD Ryzen 5 7500F with Wraith Stealth Cooler$255.00 w/GST
 -
 AMD Ryzen 7 8700F with Wraith Stealth Cooler$455.00 w/GST
 -
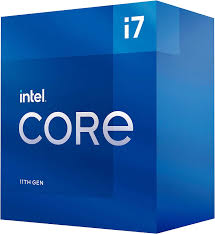 Intel i7 11700$478.00 w/GST
 -
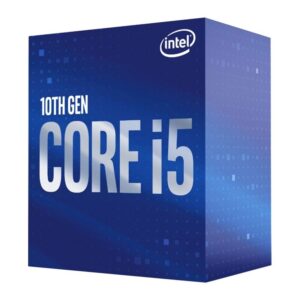 Intel i5 10400F$232.00 w/GST
 -
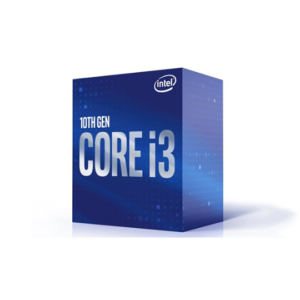 Intel i3 10100F$156.00 w/GST
The CPU, often referred to as the brain of the computer, is a crucial component. It handles all instructions it receives from hardware and software running on the PC. For beginners, choosing between AMD and Intel processors is a common decision. Each offers different levels of performance and price points.
Consider your needs: for basic tasks and light gaming, an entry-level CPU will suffice. For more intensive tasks like gaming or video editing, a more powerful processor is recommended.
Graphics Card (GPU): The Artist of Your PC
Lastly, the GPU. This component is critical for rendering images and videos. If your usage revolves around basic tasks, the integrated graphics in modern CPUs should suffice. However, for high-end gaming or intense graphic work, investing in a dedicated GPU is worthwhile. It plugs into the PCI Express slots on the motherboard, requiring careful consideration of compatibility and power needs.
-
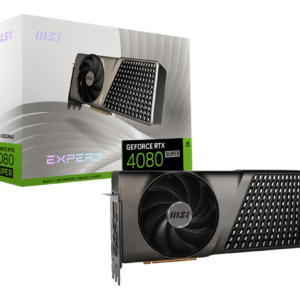 MSI GeForce RTX 4080 SUPER 16G EXPERT$1,799.00 w/GST
 -
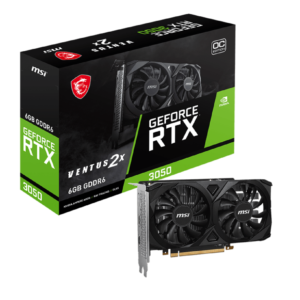 MSI GeForce RTX 3050 VENTUS 2X 6G OC$295.00 w/GST
 -
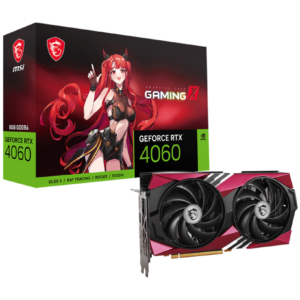 MSI GeForce RTX 4060 GAMING X 8G MLG$539.00 w/GST
 -
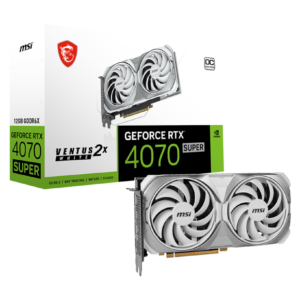 MSI GeForce RTX 4070 SUPER 12G VENTUS 2X WHITE OC$1,005.00 w/GST
 -
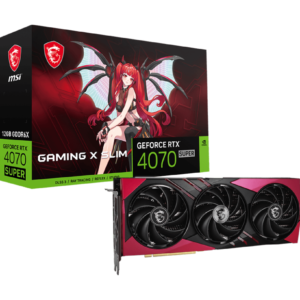 MSI GeForce RTX 4070 SUPER 12G GAMING X SLIM MLG$1,089.00 w/GST
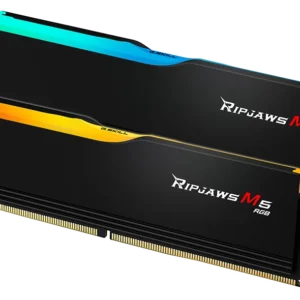
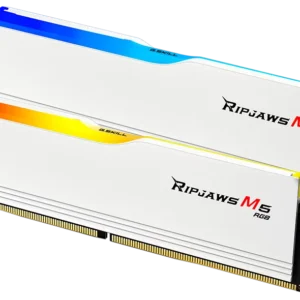
RAM: The Speedster of Short-Term Memory
RAM, or Random Access Memory, plays a pivotal role in your computer’s performance. It’s essentially your PC’s short-term memory, crucial for running applications and browsing the internet. The amount of RAM you choose can significantly impact your PC’s speed and efficiency. Most users find 8GB of RAM to be a sweet spot for performance and value. However, for tasks like professional video editing, you might need 16GB or more.
-
 GSKILL Ripjaws M5 RGB / DDR5 6000 MT/s / 32GB / F5-6000J3648D16GX2-RM5RK$215.00 w/GST
 -
 GSKILL Ripjaws M5 RGB / DDR5 6000 MT/s / 64 GB / 30-40-40-96 (White)$399.00 w/GST
 -
 GSKILL Ripjaws M5 RGB / DDR5 6000 MT/s / 64 GB / 30-40-40-96$399.00 w/GST
 -
 GSKILL Ripjaws M5 RGB / DDR5 6000 MT/s / 32GB / 30-40-40-96 (White)$215.00 w/GST
 -
GSKILL Ripjaws M5 RGB / DDR5 6000 MT/s / 32GB / 30-40-40-96$215.00 w/GST
Motherboards: The Foundation of Your Build
Firstly, consider the motherboard, the backbone of your PC. It’s crucial to choose one that suits your needs. Motherboards come in various sizes, including ATX, MicroATX, and Mini-ITX. Each size determines how many components, like RAM and GPUs, you can add. The ATX motherboard, for instance, is the most common and can accommodate up to 7 expansion slots. These slots enhance your PC’s functionality, allowing for additions like Wi-Fi cards or superior graphics capabilities.
-
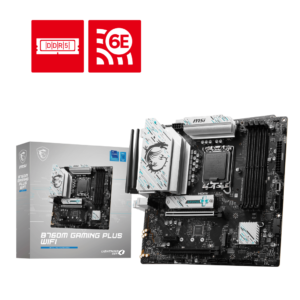 B760M GAMING PLUS WIFI DDR5$255.00 w/GST
 -
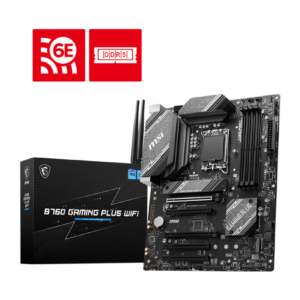 B760 GAMING PLUS WIFI DDR5$279.00 w/GST
 -
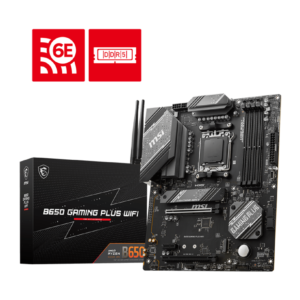 B650 GAMING PLUS WIFI DDR5$329.00 w/GST
 -
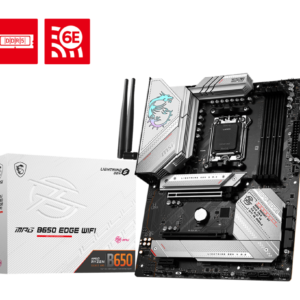 MPG B650 EDGE WIFI DDR5$469.00 w/GST
 -
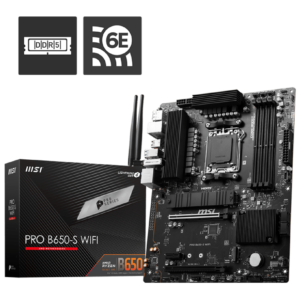 MSI PRO B650-S WIFI DDR5$329.00 w/GST
Storage: Your Digital Warehouse
Storage is where your operating system, programs, and data live. You have two primary options: Hard Disk Drives (HDDs) and Solid State Drives (SSDs). HDDs offer more storage space at a lower cost, ideal for large files. SSDs, albeit pricier, provide faster data access speeds, perfect for quick system boot-ups and application launches.
-
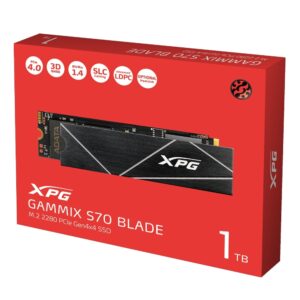 XPG GAMMIX S70 Blade 1TB PCIe Gen4x4 (Separated Heatsink)$119.00 w/GST
 -
 SK hynix Platinum P41 2TB PCIe NVMe Gen4 M.2$239.00 w/GST
 -
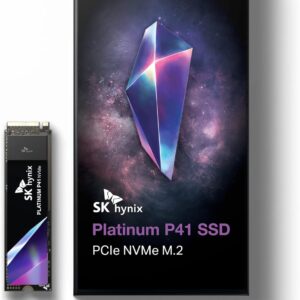
SK hynix Platinum P41 1TB PCIe NVMe Gen4 M.2$149.00 w/GST
-
 XPG GAMMIX S70 Blade 4TB PCIe Gen4x4 (Separated Heatsink)$425.00 w/GST
 -
 XPG GAMMIX S70 Blade 2TB PCIe Gen4x4 (Separated Heatsink)$199.00 w/GST
Power Supply Unit (PSU): The Power Behind the Throne
Next, let’s talk about the PSU. This component is vital as it supplies power to your system. Each PSU has a wattage rating, like 500W or 750W, indicating the amount of power it can deliver. Selecting a PSU that meets the power demands of your components is essential for your system’s stability and longevity.
-
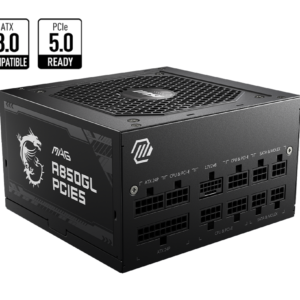 MSI MAG A850GL PCIE5 80+ Gold 850W$179.00 w/GST
 -
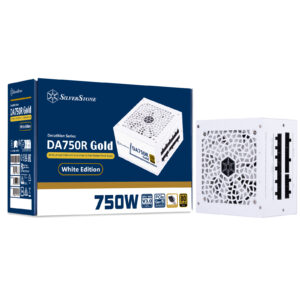 Silverstone SST-DA750R-GMA-WWW 80 PLUS Gold 750W ATX 3.0 & PCIe 5.0 Fully Modular Power Supply WHITE$159.00 w/GST
 -
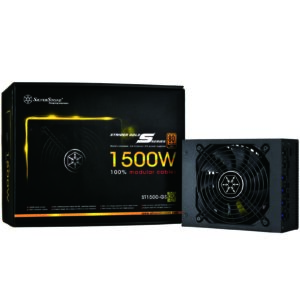 Silverstone SST-ST1500-GS Strider Gold 1500W 80 Plus Platinum, Full Modular$479.00 w/GST
 -
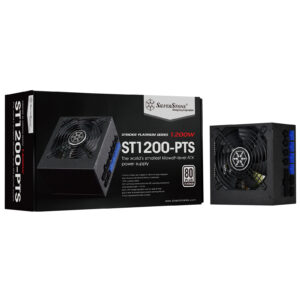 Silverstone SST-ST1200-PTS Strider 1200W 80 Plus Platinum, Full Modular$368.00 w/GST
 -
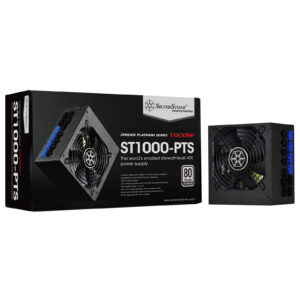 Silverstone SST-ST1000-PTS Strider 1000W 80 Plus Platinum, Full Modular$299.00 w/GST
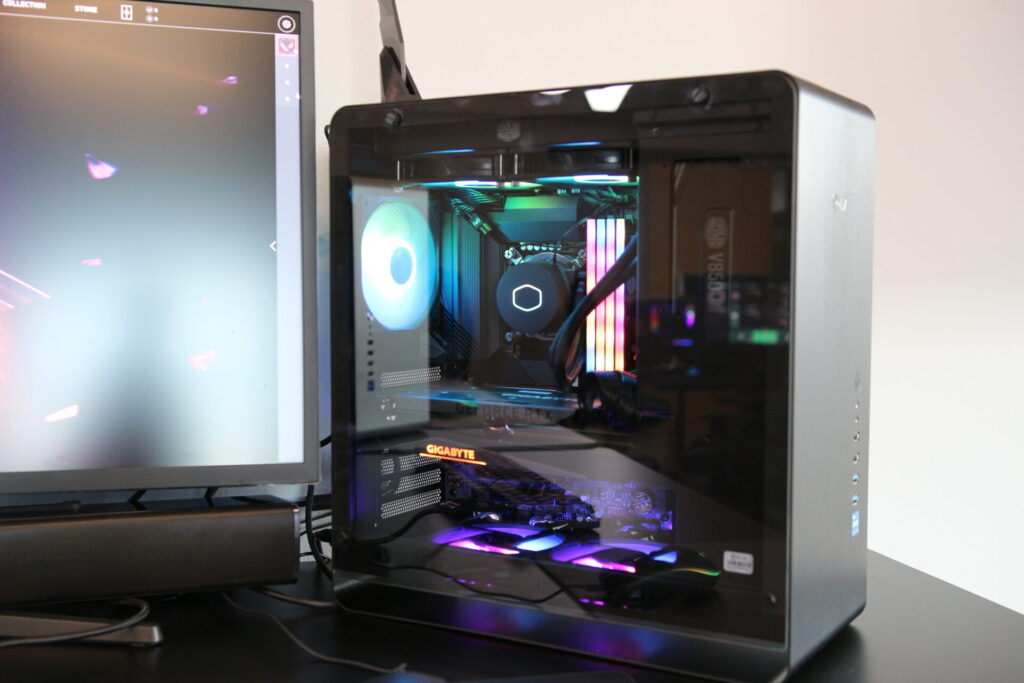
PC Case (Casing)
The case houses all of your computer’s components. It comes in various sizes and styles, including ATX, microATX, and mini-ITX, which should match your motherboard size. When choosing a case, consider factors like airflow, cable management options, size, and aesthetics. Make sure it has enough space for all your components, including any additional fans or a larger GPU.
-
 Lian Li A3-mATX White$115.00 w/GST
 -
 Lian Li A3-mATX Black$115.00 w/GST
 -
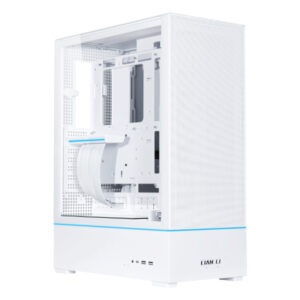 LIAN LI SUP01 White$219.00 w/GST
 -
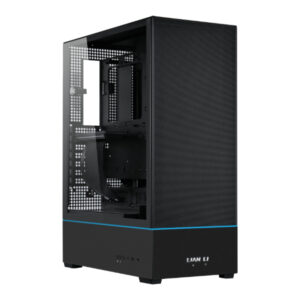 LIAN LI SUP01 Black$219.00 w/GST
 -
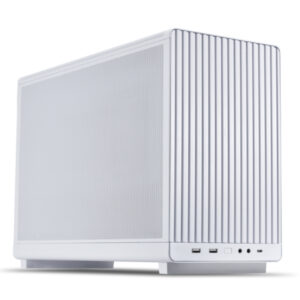
 PC-O11 Air Mini White$165.00 w/GST
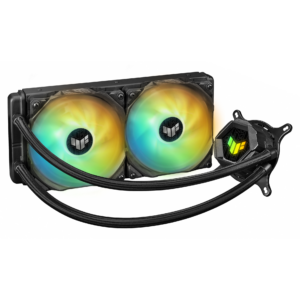
CPU Cooler
The CPU cooler keeps the processor from overheating. Most CPUs come with a stock cooler that is sufficient for standard use. If you plan to overclock your CPU or if it doesn’t come with a cooler, you’ll need to buy an aftermarket cooler. Coolers come in two main types: air coolers, which are more common and usually cheaper, and liquid coolers, which are more efficient but also more expensive.
-
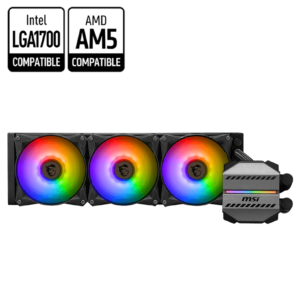 MSI MAG CORELIQUID M360$179.00 w/GST
 -
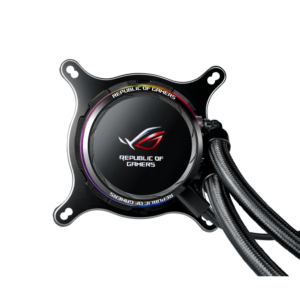 ASUS ROG RYUO 240 OLED AIO CPU COOLER (3Y)$339.00 w/GST
 -
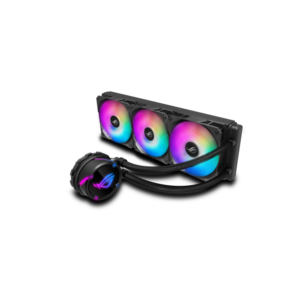 ASUS ROG STRIX LC 360 RGB EDITION (5Y)$359.00 w/GST
 -
 ASUS TUF GAMING LC 240 ARGB (5Y)$179.00 w/GST
 -
 ASUS ROG STRIX LC II 240 ARGB AIO CPU COOLER (6Y))$299.00 w/GST
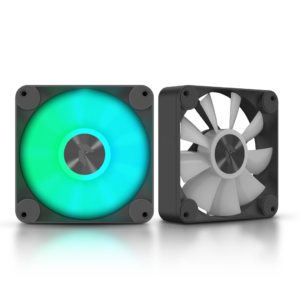
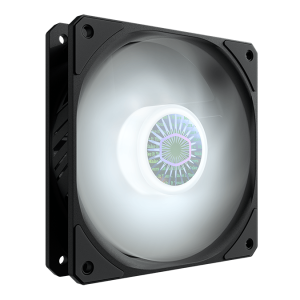
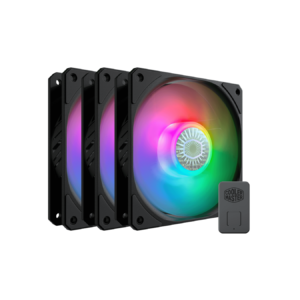
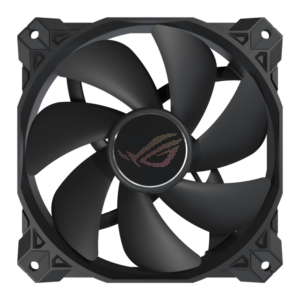
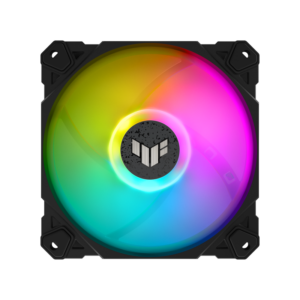
Additional Cooling Solutions
Beyond the CPU cooler, additional cooling such as case fans or liquid cooling systems may be needed, especially in high-performance builds. Good airflow within the case is crucial for maintaining optimal temperatures and prolonging the life of your components. The number and size of fans you can add will depend on your case’s specifications.
-
 APNX FP1-120 PWM ARGB Black 30mm (2Y) 74.6 CFM (3 Pack)$60.00 w/GST
 -
 Cooler Master SICKLEFLOW 120 WHITE$19.00 w/GST
 -
 Cooler Master SICKLEFLOW 120 ARGB$25.00 w/GST
 -
 ASUS ROG STRIX XF120 PWN FAN (5Y)$49.00 w/GST
 -
 ASUS TUF GAMING TF120 ARGB FAN – (2Y)$49.00 w/GST
Preparing for the Build
As you step into the world of PC building, being well-prepared is key. For beginners looking to build a PC, this phase is all about gathering the right tools and setting up a conducive environment. Let’s break down what you need to do before assembling your PC.
Gathering Essential Tools
Start by assembling your toolkit. You’ll need a few basic items:
- A Philips head screwdriver, crucial for most of the screws in your build.
- An anti-static wrist strap, optional but highly recommended to prevent static damage to components.
- Cable ties, useful for managing wires and keeping your build neat.
- A knife or a pair of scissors, handy for opening packages and cutting ties.
Having these tools at your disposal will make the building process smoother and more organized.
Creating a Suitable Workspace
Next, choose a clean, flat work surface. A spacious desk or table is ideal. Ensure you have enough room to lay out all your components and tools. A clutter-free environment not only makes the process easier but also helps prevent losing small parts like screws.
Safety Precautions: Avoiding Static Damage
One crucial aspect often overlooked by beginners is the risk of static electricity. This invisible threat can damage sensitive components. To mitigate this risk:
- Consider using an anti-static wrist strap. It keeps you grounded, preventing static build-up.
- Work in a room with a non-carpeted floor, as carpets can generate static.
- Frequently touch the metal part of your case to discharge any static.
Before the First Screw Turns
Before you start assembling, make sure you have all your components ready. This includes:
- Case
- CPU
- Motherboard
- RAM
- Storage (SSD/HDD)
- PSU (Power Supply Unit)
- Optional components like a GPU (Graphics Processing Unit) if your needs require one.
Ensure all parts are compatible. Using tools like PCPartPicker can greatly assist in verifying compatibility and simplifying your beginner build a PC journey. Additionally, another valuable resource is VOLTA PC – Customize PC. On their website, you can select parts for your build, and they ensure that all components are compatible with each other. This is especially useful for beginners who may not be as familiar with the intricacies of PC component compatibility. By leveraging these resources, you can confidently build a PC that functions seamlessly and meets your specific needs.
The actual building process is where the excitement truly begins for anyone embarking on their first PC build. This section is designed to guide beginners through the key steps of assembling a PC, ensuring a smooth and successful build.
Installing the Power Supply (PSU)
Your first step is to install the power supply unit. Locate the PSU bay in your case, typically at the bottom rear. If your PSU is modular, don’t attach the cables yet. Secure the PSU in place with the provided screws. Remember, ensuring that the fan faces downwards allows it to draw in cool air from outside the case.
Mounting the Motherboard
The motherboard is next. Start by placing the I/O shield in the case. Then, carefully lower the motherboard into the case, aligning it with the standoffs. Screw it in place, but avoid overtightening. This step lays the groundwork for the rest of your components.
Installing the Processor (CPU)
The CPU installation is a delicate process. Gently place the CPU into the socket on your motherboard, aligning it correctly. It should fit snugly without force. Once in place, lower the retention arm to secure the CPU. Be extra cautious as incorrect installation can damage the pins.
Attaching the CPU Cooler
Most CPUs come with a cooler, which is essential for maintaining optimal temperatures. Apply thermal paste to the CPU if your cooler doesn’t have pre-applied paste. Then, position the cooler on top of the CPU and secure it with the provided mechanism. This ensures your CPU stays cool under load.
Inserting RAM Modules
RAM installation is straightforward. Open the clips on the RAM slots of your motherboard. Align the notches on your RAM sticks with the slot, and firmly press down. You’ll hear a click when the RAM is securely in place. For optimal performance, refer to your motherboard manual for the correct slots to use for dual-channel setup.
Adding Storage (HDD/SSD)
Storage devices come next. Mount your HDD or SSD in the designated bays in your case. Connect them to the motherboard with SATA cables for data transfer. Then, connect them to your PSU with power cables. These drives are where your data will live.
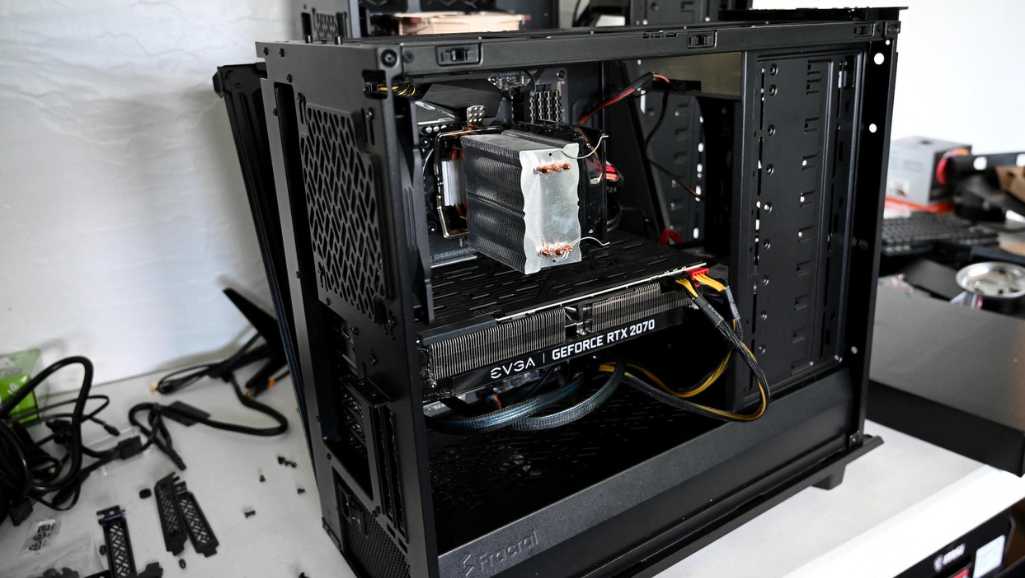
Plugging in the Graphics Card (GPU)
If your build includes a dedicated GPU, install it in the topmost PCI Express slot on your motherboard for maximum performance. Push down gently until the card clicks into place. If your GPU requires additional power, connect it to the PSU using the provided cables.
Final Checks and Connections
Before closing up your case, double-check all connections. Ensure everything is properly seated and connected. Connect any case fans or front panel connectors to your motherboard. Managing your cables for optimal airflow is also crucial at this stage.
Post-Build Considerations
Congratulations on completing your PC build! As a beginner who has just built a PC, you’ve accomplished a significant task. However, the journey doesn’t end here. There are a few important steps to take post-build to ensure everything runs smoothly.
Setting Up Your Operating System
The first step after assembly is installing an operating system (OS). The most common choices are various versions of Windows or Linux distributions. You’ll need a USB drive with the OS installer, which you can create following instructions from the OS provider. Boot your PC from this USB drive and follow the on-screen instructions to install the OS.
Installing Drivers and Software
After OS installation, it’s essential to install the necessary drivers. These drivers ensure that all your components, especially the GPU and motherboard, work optimally. Visit the websites of your component manufacturers to download the latest drivers. Also, install any essential software you need for your day-to-day tasks.
Monitor Selection and Setup
Choosing the right monitor is crucial, especially if your PC build is geared towards gaming or graphic design. Consider factors like screen size, resolution, and refresh rate. Connect the monitor to your GPU using an HDMI or DisplayPort cable. Once connected, adjust the display settings in your OS to match the monitor’s capabilities.
Peripheral Devices
Don’t forget about peripheral devices like a keyboard, mouse, and speakers or headphones. These are vital for interacting with your PC. Choose peripherals that match your usage – for example, gaming peripherals if you’re into gaming, or ergonomic ones if you work long hours.
Testing and Benchmarking
Finally, run some tests to ensure everything is working correctly. Use benchmarking tools to test the performance of components like your CPU, GPU, and RAM. This not only confirms that your PC is functioning as expected but also gives you a baseline for future upgrades.
Backup and Security
Implement a backup and security strategy. Regularly back up your data to prevent loss in case of hardware failure. Also, install security software to protect your PC from malware and viruses.
Conclusion
You’ve now reached the end of this beginner’s guide to building a PC. Congratulations! By now, you should have a deeper understanding of what it takes to assemble a computer. This journey, while challenging, is incredibly rewarding. You’ve not only built a machine tailored to your needs but also gained valuable skills and knowledge.
Building your own PC empowers you with the knowledge to upgrade components and troubleshoot issues in the future. It demystifies the inner workings of computers, turning what once seemed complex into something manageable and understandable. This empowerment is particularly beneficial for beginners in the PC building journey.
The ability to customize your PC is one of the biggest advantages of building it yourself. You’ve created a machine that fits your specific requirements, whether for gaming, professional work, or general use. This customization leads to a more efficient and enjoyable computing experience.
Remember, the learning doesn’t stop here. The world of technology is constantly evolving, offering new opportunities to upgrade and enhance your PC. Engage with online communities and forums for continued support and knowledge sharing. Share your experiences and learn from others who have walked this path.
Final Thoughts
In closing, building a PC as a beginner might seem daunting at first. However, with the right guidance and a step-by-step approach, it’s an achievable and fulfilling endeavor. Your journey into the world of PC building has just begun. Embrace the challenges, revel in the successes, and enjoy the continuous journey of learning and discovery.
Custom PC Solutions in Singapore with VOLTA PC: No Building Required
If you’re interested in a custom PC but prefer not to dive into the building process yourself, consider reaching out to VOLTA PC. They specialize in creating custom computers tailored to your specific needs and preferences. By choosing VOLTA PC, you can enjoy the benefits of a personalized gaming desktop without the need to assemble it yourself. Their team of experts ensures that all components are compatible and optimally configured for your use. Whether for gaming, professional work, or general use, VOLTA PC can provide you with a high-quality, custom-built PC that meets your exact requirements.