Are you tired of lagging frame rates and stuttering gameplay? Unlock the full potential of your GPU and elevate your gaming experience with our comprehensive guide on how to overlock your GPU. By following our step-by-step instructions and expert tips, you’ll be able to boost your FPS, enjoy smoother performance, and take your gaming to new heights.
Why settle for default clock speeds when you can push your graphics card to its limits? Overclocking allows you to increase the speed of your GPU chip, giving you the power to squeeze out every ounce of performance. But before you begin, it’s essential to understand the benefits and potential risks of overclocking, as well as the tools and software you’ll need for a successful overclocking journey.
In this listicle, we’ll cover everything from the basics of GPU overclocking to the best overclocking tools and software on the market. We’ll also guide you through the process of optimizing your software settings and provide tips to ensure stability and avoid hardware damage. Get ready to unleash your GPU’s full potential and experience butter-smooth performance in your favorite games.
Introduction to GPU Overclocking: Boost Your Gaming Performance
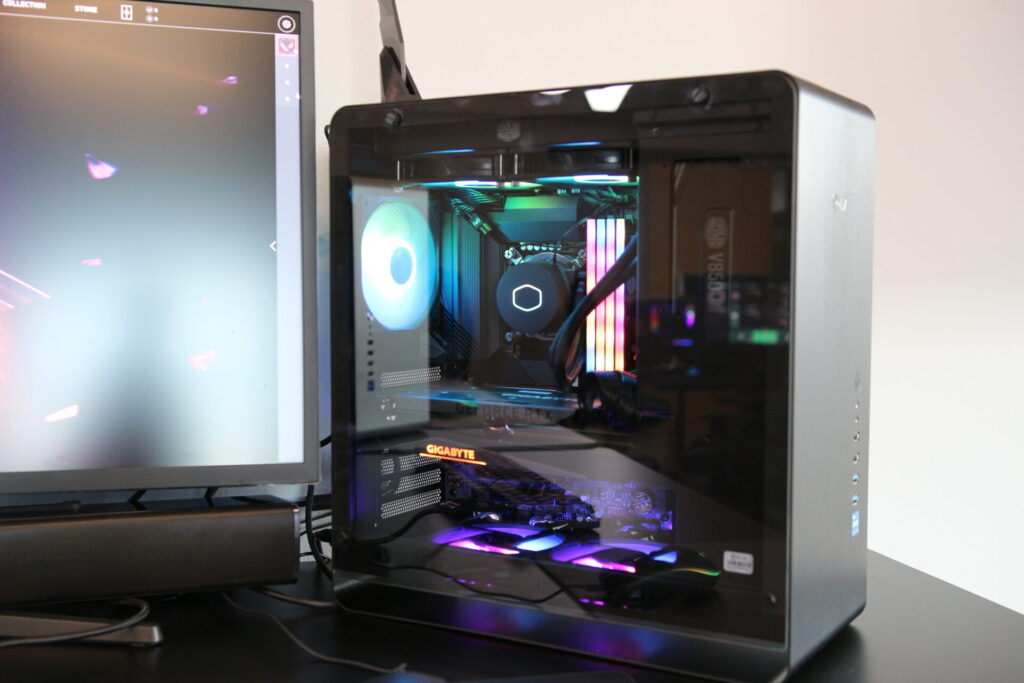
In the world of gaming, performance is everything. Gamers are always on the hunt for ways to squeeze every bit of power out of their hardware to achieve butter-smooth gameplay and an exceptional gaming experience. This is where GPU overclocking comes into play.
GPU overclocking is the process of increasing the clock speed of your graphics card beyond its factory settings. By doing so, you can unleash the full potential of your GPU and elevate your gaming performance to new heights.
When you overclock your GPU, you essentially push it to work at a higher speed than it was designed for. This results in faster rendering times, higher frame rates, and smoother performance in your favorite games. By maximizing the speed of your graphic card, you can experience more immersive graphics, reduced lag, and an overall better gaming experience.
However, it’s worth noting that GPU overclocking isn’t without its risks. Overclocking your graphics card can potentially lead to higher temperatures, power consumption, and even hardware damage if not done properly. That’s why it’s essential to follow the right techniques and use reliable overclocking tools to ensure a safe and successful overclocking process.
In the next sections, we will delve deeper into the world of GPU overclocking. We’ll provide you with a step-by-step guide on how to overclock your GPU, discuss the safety considerations, and explore the impact of GPU overclocking on gaming performance. So let’s dive in and unlock the true potential of your GPU for an unparalleled gaming experience.
What is GPU Overclocking?
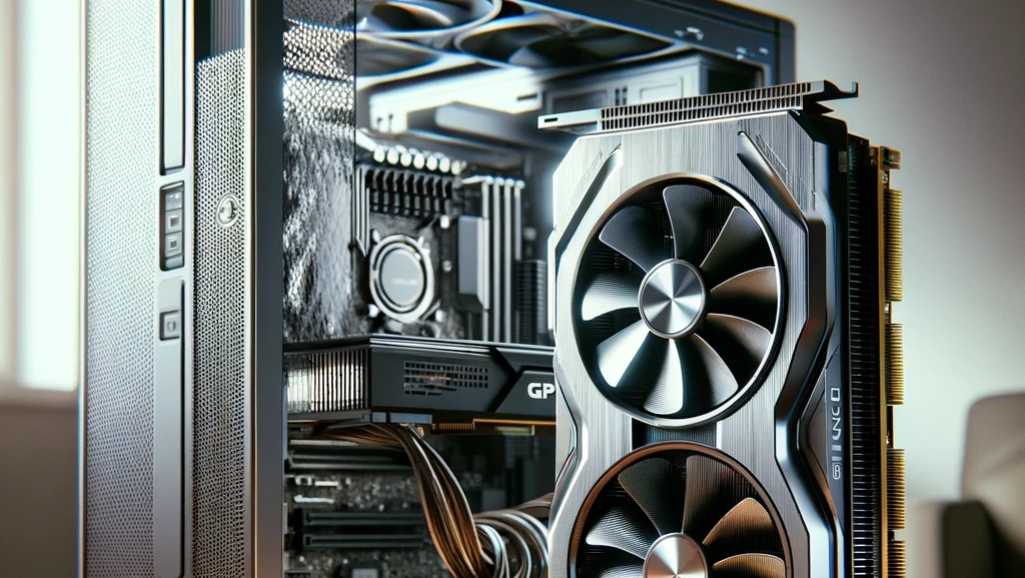
GPU overclocking is the process of increasing the operating speed of your graphics card beyond its factory settings. By doing so, you can unlock the full potential of your GPU and achieve better gaming performance. Typically, GPUs come with a base clock speed and a boost clock speed, which indicates the maximum frequency at which the GPU can operate.
Overclocking your GPU allows you to push these clock speeds higher, resulting in increased performance and improved gameplay. By running your GPU at a higher clock speed, you can achieve higher frame rates, smoother gameplay, and enhanced graphics.
The benefits of GPU overclocking are especially noticeable in graphics-intensive tasks such as gaming and video editing. Overclocking can give you an edge in competitive gaming by providing a higher frame rate, reducing input lag, and allowing for a more immersive gaming experience.
It’s important to note that GPU overclocking requires careful consideration and monitoring. It can increase the power draw and temperature of your graphics card, which may impact its overall lifespan if not done correctly. However, with proper knowledge and precautions, overclocking can be a safe and effective way to optimize your GPU’s performance.
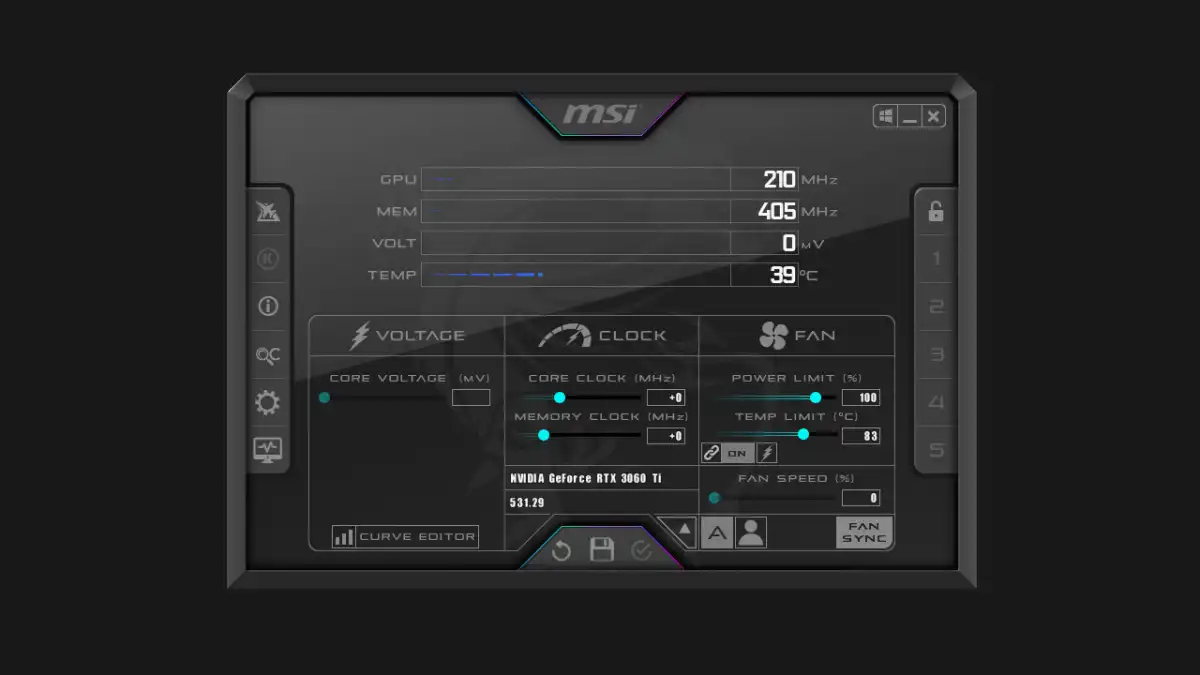
Before attempting GPU overclocking, it is recommended to use reliable overclocking tools such as MSI Afterburner or EVGA’s Precision X. These tools provide an interface to adjust the core clock, memory clock, voltage, and power limit of your GPU. It’s essential to follow a step-by-step guide and perform stability tests to ensure that your overclocked settings are stable and do not cause instability or crashes.
When done correctly, GPU overclocking can provide a noticeable increase in performance and take your gaming experience to the next level. However, it’s essential to keep in mind that every GPU is different, and the amount of overclocking headroom varies. Always monitor temperatures and stability, and be cautious not to push your GPU beyond its limits to avoid any potential risks or hardware damage.
Remember, GPU overclocking is not for everyone, and it’s crucial to weigh the potential benefits against the risks and the specific requirements of your system. If you decide to proceed with GPU overclocking, make sure to educate yourself and follow proper guidelines to ensure a successful and safe overclocking experience.
Is GPU Overclocking Safe?
When it comes to GPU overclocking, safety is a top concern for many enthusiasts. While pushing your graphics card beyond its factory settings can yield impressive performance gains, it’s important to approach the process with caution. By following some key guidelines, you can minimize the risks associated with GPU overclocking.
1. Understand the limits of your hardware
Before embarking on the overclocking journey, it’s crucial to familiarize yourself with the capabilities and limitations of your specific graphics card. Different GPUs have different tolerances for overclocking, and exceeding these limits could potentially result in hardware damage. Check manufacturer documentation or online resources to find out the recommended safe limits for your particular GPU model.
2. Use reliable overclocking tools and software
To ensure stability and prevent potential issues, rely on reputable overclocking tools and software. Programs like MSI Afterburner or EVGA Precision X offer user-friendly interfaces and extensive customization options while prioritizing safety features. Always download the latest version of these tools and ensure compatibility with your GPU.
3. Monitor temperatures and adjust fan settings
Heat is the primary enemy of overclocked components. Keeping a close eye on your GPU’s temperatures during the overclocking process is crucial. Utilize temperature monitoring software to track temperature spikes and adjust fan curves for optimal cooling performance.
4. Incrementally increase clock speeds and test stability
When overclocking, it’s wise to take a gradual approach. Increase GPU clock speeds and memory frequencies in small increments, then run stability tests, such as FurMark or 3DMark. This will help identify stability issues and prevent system crashes. If instability occurs, dial back the settings until you achieve a stable configuration.
5. Understand the risks and accept the potential consequences
Despite taking all precautions, there is always a small degree of risk involved in GPU overclocking. Overextending your graphics card’s capabilities can result in system crashes, artifacts, or, in rare cases, hardware damage. It is essential to weigh these potential consequences against the desired performance benefits and proceed only if you are comfortable with the associated risks.
By following these safety tips, you can greatly reduce the chances of encountering issues during GPU overclocking. Always remember to prioritize stability over benchmarks and carefully assess the potential benefits against the risks before embarking on this performance-enhancing journey.
How Much Should I Overclock My GPU?
When it comes to overclocking your GPU, finding the perfect balance between performance and stability is crucial. Here are some tips and considerations to keep in mind when deciding how much to overclock your graphics card:
1. Start with conservative overclocking:
Begin by making small adjustments to your GPU’s clock speed and memory frequency. Incrementally increase these values and test the stability of your system after each adjustment. This method allows you to find a stable overclock without pushing your GPU to its limits.
2. Monitor temperatures and power consumption:
During the overclocking process, keep a close eye on the temperature of your GPU. Excessive heat can cause instability and potentially damage your hardware. Additionally, consider the power consumption of your system and ensure that it remains within safe limits.
3. Stress test your GPU:
To ensure stability, run stress tests on your overclocked GPU. Popular software such as FurMark and 3DMark can assess the stability of your system under heavy loads. If you experience crashes or artifacts during these tests, you may need to dial back your overclock.
4. Watch for signs of instability:
Pay attention to any signs of instability while using your overclocked GPU. If you notice graphical glitches, crashes, or system freezes, it could be an indication that your overclock is too aggressive. In such cases, consider reducing the overclock to ensure a stable and reliable gaming experience.
5. Consider the capabilities of your individual GPU:
Keep in mind that not all GPUs are created equal, even within the same model. Each graphics card has its own unique overclocking potential. While some GPUs may handle higher overclocks with ease, others may struggle to reach the same levels. Take into account the capabilities of your specific GPU when determining the optimal overclock.
6. Remember the importance of stability:
While pursuing higher clock speeds may seem tempting, it’s essential to prioritize stability. A slightly lower overclock that is stable will provide a better overall experience than a higher overclock that causes crashes or instability.
By following these tips and carefully monitoring your GPU’s performance, you can determine the optimal level of overclocking that strikes the right balance between improved performance and system stability. Remember to always prioritize the long-term health and reliability of your graphics card.
Preparing for GPU Overclocking: Optimization Checklist
Before diving into the exciting world of GPU overclocking, it’s crucial to optimize your software settings and prepare your system. Taking these essential steps will ensure a smooth and successful overclocking process while minimizing potential risks. Here is an optimization checklist to guide you:
1. Update Graphics Card Drivers
Ensure that you have the latest drivers for your graphics card installed. Graphics card manufacturers release driver updates regularly, which include performance optimizations and bug fixes. Visit the official website of your graphics card manufacturer to download and install the latest driver version.
2. Create System Restore Point
Before making any changes to your GPU settings, create a system restore point. This allows you to revert back to a stable state if any issues arise during the overclocking process.
3. Monitor Temperatures
Overclocking generates additional heat, which can affect the stability and longevity of your GPU. Install a reliable temperature monitoring tool to keep an eye on the GPU’s temperature during overclocking. This will help you assess whether the card is running within safe limits.
4. Ensure Adequate Power Supply
Overclocking requires more power from your GPU. Ensure that your power supply unit (PSU) can handle the increased power demands. Check the power requirements of your graphics card and ensure that your PSU is rated to deliver sufficient power.
5. Optimize Background Processes
Close unnecessary background processes and applications that consume system resources. This frees up system resources and ensures maximum performance during overclocking.
6. Clean Dust from GPU and Fans
Over time, dust can accumulate in your GPU and fans, leading to overheating issues. Clean your GPU and fans using compressed air or a soft brush to ensure optimal cooling performance.
7. Backup Important Data
In rare cases, overclocking may lead to system instability or crashes. Before starting the overclocking process, backup important files and data to prevent data loss in the event of unexpected issues.
By following this optimization checklist, you’ll set a solid foundation for successful GPU overclocking. Remember to proceed with caution, follow reliable guides, and gradually test your overclock settings to ensure stability and longevity for your graphics card.
Step-by-Step Guide: How to Overclock Your GPU
Overclocking your GPU is an effective way to unleash its full potential and elevate your gaming experience. By pushing your graphics card beyond its default settings, you can achieve higher clock speeds and optimize performance. Follow this step-by-step guide to safely and successfully overclock your GPU.
1. Choose a Reliable Overclocking Tool
To begin the overclocking process, select a trusted and feature-rich overclocking tool. Popular options include MSI Afterburner, EVGA Precision X, and ASUS GPU Tweak. These tools provide you with the necessary controls to adjust clock speeds, power limits, and temperature thresholds.
2. Launch the Overclocking Tool
Once you’ve installed your chosen overclocking tool, launch it to gain access to the GPU settings. Familiarize yourself with the user interface and locate the relevant options for adjusting clock speeds and memory settings.
3. Understand GPU Clock Speeds
GPU clock speed determines the operating frequency of your graphics card. By increasing the clock speed, you can boost overall performance, resulting in higher frame rates and smoother gameplay. However, it’s important to find the right balance, as excessively high clock speeds can lead to stability issues or hardware damage.
4. Adjust GPU Clock Settings
Start by incrementally increasing the GPU clock speed in small increments, such as 25 MHz at a time. Apply the changes and test stability by running graphics-intensive tasks or benchmarks. Monitor your GPU’s temperature and look out for any artifacts or system crashes.
5. Optimize Memory Settings
Similar to the GPU clock speed, expanding the memory clock speed can enhance performance in gaming and other graphics-intensive tasks. Increase the memory clock speed gradually and test for stability. Be mindful of any signs of instability, and ensure that your GPU remains within safe temperature limits.
6. Increase Power and Temperature Limits
Some overclocking tools allow you to adjust power and temperature limits to ensure consistent performance. However, it’s crucial to understand the limitations of your specific graphics card and avoid pushing it beyond its recommended capabilities. Increase these limits gradually while carefully monitoring temperature and stability.
7. Fine-Tune Software Settings
Beyond adjusting clock speeds, optimizing software settings can further improve your GPU’s overclocking potential. Explore features like voltage control, fan speed adjustment, and performance profiles. Experiment with these settings while closely monitoring temperature and stability.
Remember that every graphics card is unique, and there is no one-size-fits-all approach to overclocking. Take your time to test and fine-tune your settings, making small adjustments until you find a stable configuration that maximizes performance without compromising reliability.
FAQs on How to Overclock GPU
Is it OK to overclock GPU?
Yes, it is generally okay to overclock a GPU, but it should be done cautiously. Overclocking involves pushing your graphics card beyond its factory-set limits to increase performance. However, it’s important to understand that overclocking can lead to increased heat output and power consumption, which may affect system stability and longevity if not managed properly. It’s recommended to have adequate cooling solutions and to incrementally increase the clock speeds while monitoring the system’s response.
How do I overclock my Nvidia GPU?
To overclock an Nvidia GPU, you can follow these steps:
- Download Overclocking Software: Use software like MSI Afterburner or Nvidia’s own Precision X1.
- Benchmark Baseline Performance: Before overclocking, run a benchmark to get baseline performance metrics.
- Increase Core Clock: Gradually increase the core clock speed in small increments, testing stability after each adjustment.
- Adjust Memory Clock: Similar to the core clock, incrementally increase the memory clock, testing for stability.
- Monitor Temperature and Voltage: Keep an eye on the GPU temperature and voltage to ensure they stay within safe limits.
- Stress Test: After each adjustment, use stress testing tools to ensure stability under load.
- Fine-Tuning: Based on the test results, fine-tune the settings for an optimal balance of performance and stability.
- Apply at Startup: Once you find stable settings, you can set the software to apply these settings at system startup.
Does overclocking reduce GPU lifespan?
Overclocking can potentially reduce the lifespan of a GPU, primarily if it leads to prolonged periods of increased heat and voltage. Excessive heat and voltage can accelerate wear and tear on the electronic components. However, if done moderately and with proper cooling, the impact on lifespan can be minimal. It’s crucial to find a balance that offers improved performance without pushing the hardware to its extreme limits.
What is the purpose of overclocking?
The primary purpose of overclocking is to enhance performance. By increasing the clock speed of the GPU, you can achieve higher frame rates and better overall performance in graphics-intensive tasks such as gaming, video editing, and 3D rendering. This can be particularly appealing for users who want to maximize the capabilities of their existing hardware without investing in new components. However, it’s a trade-off between improved performance and potential risks like increased heat, power consumption, and possibly reduced hardware longevity.
Ready to elevate your gaming or graphics experience with a custom PC tailored to your needs? If you’re in Singapore, look no further! Contact Volta PC today and let us help you build the ultimate machine that fits your specific requirements and budget. Don’t settle for less – get in touch now and take the first step towards a truly personalized computing experience!
-
 MSI GeForce RTX 4080 SUPER 16G EXPERT$1,799.00 w/GST
 -
 MSI GeForce RTX 3050 VENTUS 2X 6G OC$295.00 w/GST
 -
 MSI GeForce RTX 4060 GAMING X 8G MLG$539.00 w/GST
 -
 MSI GeForce RTX 4070 SUPER 12G VENTUS 2X WHITE OC$1,005.00 w/GST
 -
 MSI GeForce RTX 4070 SUPER 12G GAMING X SLIM MLG$1,089.00 w/GST
 -
 MSI GeForce RTX 4070 Ti SUPER 16G VENTUS 2X WHITE OC$1,339.00 w/GST
 -
 MSI GeForce RTX 4070 Ti SUPER 16G GAMING X SLIM WHITE$1,429.00 w/GST
 -
 MSI GeForce RTX 4070 SUPER 12G VENTUS 2X OC$995.00 w/GST
 -
 MSI GeForce RTX 4070 SUPER 12G VENTUS 3X OC$1,009.00 w/GST
 -
 MSI GeForce RTX 4070 SUPER 12G GAMING X SLIM$1,069.00 w/GST