Play PS3 games on your PC opens up a world of gaming possibilities, allowing you to enjoy your favorite titles from the console on your computer. In this guide, we’ll walk you through the process of setting up the emulator, obtaining game ROMs, configuring controllers, and optimizing performance and graphics.
Key Takeaways
Ensure that you only download game ROMs from legitimate sources to avoid legal and security risks.
Connecting a PS3 controller to your PC enables a more authentic gaming experience.
Optimizing emulator performance settings can significantly improve gameplay quality.
Troubleshoot performance issues by adjusting emulator settings and graphics configurations.
Setting Up the Emulator
Downloading the Emulator Software
The first step to playing PS3 games on your PC is to download the emulator software. RPCS3 is a popular choice for Windows users, offering free access to a wide range of PlayStation 3 titles. The software is constantly updated, ensuring compatibility with a growing list of games.
To get started, visit the official RPCS3 website and navigate to the download section. Choose the version compatible with your operating system and proceed with the download. Remember to verify the integrity of the downloaded file to ensure it hasn’t been tampered with.
It’s crucial to download the emulator from the official website to avoid any potential security risks associated with third-party sources.
Once the download is complete, you’ll be ready to move on to the installation process. Make sure to follow the instructions carefully to avoid any issues that could arise during setup.
Installing the Emulator
Once you have downloaded the emulator software, the next step is to install it on your PC. This process is typically straightforward, but it’s important to pay attention to the installation prompts to ensure a successful setup. Follow the on-screen instructions carefully, and make sure to install any additional components if required by the emulator.
After installation, it’s crucial to verify that the emulator is functioning correctly. Launch the application to see if it opens without errors and check for any initial setup prompts that may appear.
Here’s a quick checklist to ensure a smooth installation process:
- Ensure your PC meets the minimum system requirements.
- Run the installer as an administrator to avoid permission issues.
- Choose the appropriate installation directory.
- Look out for any additional software offers during the installation and opt-out if not needed.
Once the emulator is installed, you can proceed to configure the emulator settings to optimize your gaming experience.
Configuring the Emulator Settings
Once the emulator is installed, configuring it correctly is crucial for the best gaming experience. Start by accessing the emulator’s settings menu, where you can adjust various parameters to match your PC’s hardware capabilities. Here, you’ll find options to set up the CPU and GPU configurations, audio settings, and network features.
For CPU and GPU settings, it’s important to select the right renderer and configure the processor’s core count. This ensures that the emulator can efficiently utilize your computer’s resources. A common setup might look like this:
- Renderer: Vulkan or DirectX 12
- CPU Cores: Auto or specify the number of cores
- GPU Texture Scaling: Auto or set a specific scale
Remember, the goal is to balance performance and quality. It’s better to start with conservative settings and gradually increase them as you test different games.
Audio and network settings are generally easier to configure, but they can significantly impact your gaming experience. Make sure to test different audio backends and network modes to find what works best for your setup.
Obtaining PS3 Game ROMs
Understanding ROMs and ISOs
Before diving into the world of PS3 emulation, it’s crucial to understand the terms ROM and ISO. ROM, which stands for Read-Only Memory, is a file that contains a copy of the game software. An ISO, on the other hand, is an exact digital image of the game disc. Both formats are used to play games on emulators, but ISOs are more common for PS3 titles due to the console’s use of optical discs.
When dealing with ROMs and ISOs, it’s important to recognize the legal implications. Owning a physical copy of the game you intend to download is typically required to stay within legal boundaries. Here’s a quick rundown of the file types you might encounter:
- .iso: Standard disc image file
- .bin: Binary disc image file
- .mdf: Media disc image file
- .pbp: PSP eBoot file
Always ensure that your downloads are from legitimate sources to avoid legal issues and potential security risks.
Finding Legitimate Sources for Game ROMs
Once you understand the legalities surrounding ROMs and ISOs, the next step is to find legitimate sources for downloading PS3 game ROMs. It’s crucial to use reputable websites to avoid downloading malicious software.
When searching for ROMs, you might come across various sites offering free downloads. However, not all of these are legal or safe. To ensure you’re using a secure source, look for websites that have a good reputation and user reviews. Some sites may require you to create an account or participate in a community to gain access to their ROM libraries.
- Always verify the legitimacy of the site.
- Check for user reviews and site reputation.
- Be cautious of sites requiring unnecessary personal information.
Remember, downloading ROMs for games you do not own is often against the law and can result in serious consequences. Always strive to uphold the integrity of gaming by using ROMs responsibly.
Downloading and Extracting Game ROMs
Once you have located legitimate sources for PS3 game ROMs, the next step is to download and extract them. Game ROMs typically come in compressed formats like .zip, .7z, or .rar, and will need to be extracted before use. Extraction can be done using common tools such as WinRAR or 7-Zip. Ensure that you extract the files to a known directory for easy access when configuring the emulator.
After extracting the ROMs, it’s crucial to validate the integrity of the game dumps to avoid any issues during gameplay. Tools like the PS3-ISO-Rebuilder can be used for this purpose.
Remember to organize your extracted game ROMs in a manner that makes them easy to navigate. You might want to create separate folders for each game or categorize them by genre. This will save you time when you’re looking to load a specific game in the emulator.
Configuring Controllers and Input Devices
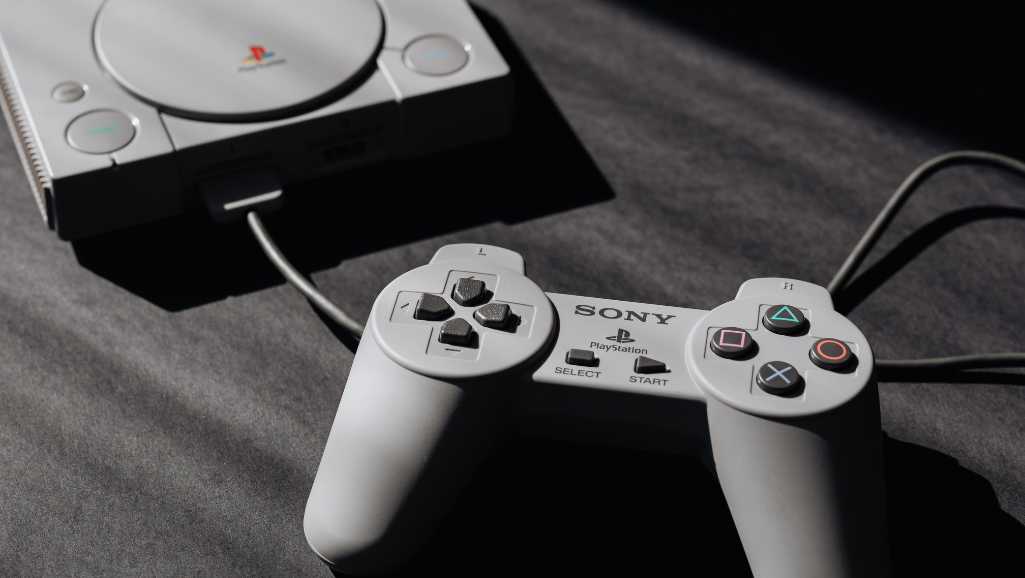
Connecting a PS3 Controller to Your PC
To use your PS3 controller on your PC, you’ll need to establish a connection between the two devices. The PS3 controller uses a Bluetooth connection, which means your PC must have a Bluetooth receiver. If your PC doesn’t have one built-in, you’ll need to use a Bluetooth adapter.
Follow these steps to connect your controller:
- Turn on your PS3 controller.
- Plug the narrow end of the controller’s USB charging cable into the controller.
- Connect the large end of the USB cable to your PC.
- Your PC should recognize the device and install any necessary drivers.
- Once the drivers are installed, you can unplug the USB cable and use the controller wirelessly if your PC has Bluetooth capability.
Ensure that your controller is charged before attempting to connect it to your PC. A low battery can cause connection issues.
Setting Up Other Input Devices
While PS3 controllers are the most authentic way to play PS3 games on your PC, you can also use a variety of other input devices to enhance your gaming experience. Most modern USB and Bluetooth controllers are compatible with PS3 emulators, allowing for a plug-and-play experience. However, setting them up may require additional steps to ensure they work correctly with the emulator.
For those looking to use instrument controllers, such as those from Rock Band or Guitar Hero, compatibility varies. It’s important to check the emulator’s support for these devices. Some may work natively, while others might need additional software like an Xbox 360 Controller Emulator to function properly.
- Connect your controller to the PC via USB or Bluetooth.
- Open the emulator’s controller settings.
- Select your controller from the list of devices.
- Map the PS3 controller buttons to your input device.
- Save the configuration and test it in-game.
Remember to update your controller drivers and check for firmware updates to ensure the best compatibility and performance.
Calibrating Controller Settings
Once your controller is connected, calibration is crucial to ensure accurate input response. Start by accessing the controller settings in the emulator’s menu. Here, you’ll find options to adjust the sensitivity and dead zones for analog sticks, as well as the pressure sensitivity for buttons if your controller supports it.
Calibration involves testing each control to verify that the emulator correctly registers your inputs. This might include moving the analog sticks in all directions, pressing each button, or simulating motion controls if applicable.
- Analog Stick Calibration: Adjust until movement feels smooth and responsive.
- Button Sensitivity: Set to a comfortable level for gameplay.
- Motion Controls (if available): Ensure they correspond accurately to your movements.
Proper calibration can greatly enhance your gaming experience, making controls feel more intuitive and responsive.
Optimizing Performance and Graphics
Adjusting Emulator Performance Settings
To ensure a smooth gaming experience, it’s crucial to adjust the emulator’s performance settings to match your PC’s capabilities. Start by accessing the emulator’s settings menu and look for the performance tab. Here, you can tweak various options to optimize speed and stability. Balancing between performance and visual fidelity is key.
- CPU Configuration: Adjust the CPU core settings to match the number of cores on your processor.
- GPU Configuration: Set the resolution and frame rate to levels that your GPU can handle comfortably.
- Audio Configuration: Ensure the audio output is synchronized with the game’s visuals to avoid lag.
Remember, not all games will perform the same way on your setup. It’s important to test different configurations to find the sweet spot for each game.
Enhancing Graphics Quality
To truly appreciate the visual fidelity of PS3 games on your PC, enhancing the graphics quality through the emulator’s settings is key. Adjusting resolution and texture filtering can significantly improve the visual experience. Here’s a quick guide on what settings to tweak:
- Resolution Scaling: Increase this to render games at higher resolutions than the original PS3 hardware.
- Anisotropic Filtering: Set this to 16x for sharper textures at oblique angles.
- Texture Quality: Enhance texture details by selecting the highest available option.
- Anti-Aliasing: Reduce jagged edges by enabling this feature, if available.
Remember that higher settings will require more from your hardware. It’s a balancing act between visual quality and system performance.
Keep in mind that not all games will benefit equally from these enhancements. Some titles may experience glitches or performance drops, so it’s important to test settings on a per-game basis.
Troubleshooting Performance Issues
When you encounter performance issues, it’s essential to approach them methodically. Start by checking if your PC meets the minimum system requirements for the emulator and the game you’re trying to play. Ensure that your graphics drivers are up to date, as outdated drivers can significantly affect performance.
If you’re experiencing consistent frame drops or stuttering, consider lowering the emulator’s resolution or disabling some of the more demanding graphical enhancements. Here’s a quick checklist to help you identify common performance bottlenecks:
- Verify system requirements are met
- Update graphics drivers
- Lower resolution settings
- Disable demanding graphical features
- Check for background processes consuming resources
Remember, some games may have specific issues that require individual fixes or settings adjustments. Consult the emulator’s community forums for game-specific advice.
If after these steps the performance hasn’t improved, it may be helpful to create a performance log and seek assistance from the emulator’s support community. They can often provide insights and solutions tailored to your particular setup.
Conclusion
In conclusion, play PS3 games on your PC can provide a convenient way to enjoy your favorite titles from the past generation. While the process may require some technical know-how and the right hardware, the results can be well worth the effort. With the right tools and a bit of patience, you can experience the nostalgia of PS3 gaming on your PC.
Frequently Asked Questions: How to Play PS3 Games on Your PC
Can I play all PS3 games on my PC using emulation?
Emulation compatibility varies, and not all games may work perfectly. Check compatibility lists for specific games.
Is it legal to download PS3 game ROMs for emulation?
Downloading game ROMs for which you do not own a physical copy is generally considered illegal. Ensure you have legal rights to the games you emulate.
Do I need a powerful PC to emulate PS3 games?
Yes, PS3 emulation requires a relatively powerful PC with a good CPU, GPU, and sufficient RAM for optimal performance.
Can I use a keyboard and mouse for PS3 game emulation?
Yes, most emulators support keyboard and mouse input, although a controller is recommended for the best experience.
How can I improve the performance of PS3 game emulation on my PC?
You can optimize performance by adjusting emulator settings, upgrading hardware, and ensuring proper configuration of your PC.
Are there any legal alternatives to downloading game ROMs for PS3 emulation?
Some games may be available for purchase and download on authorized platforms, providing a legal alternative to downloading ROMs.
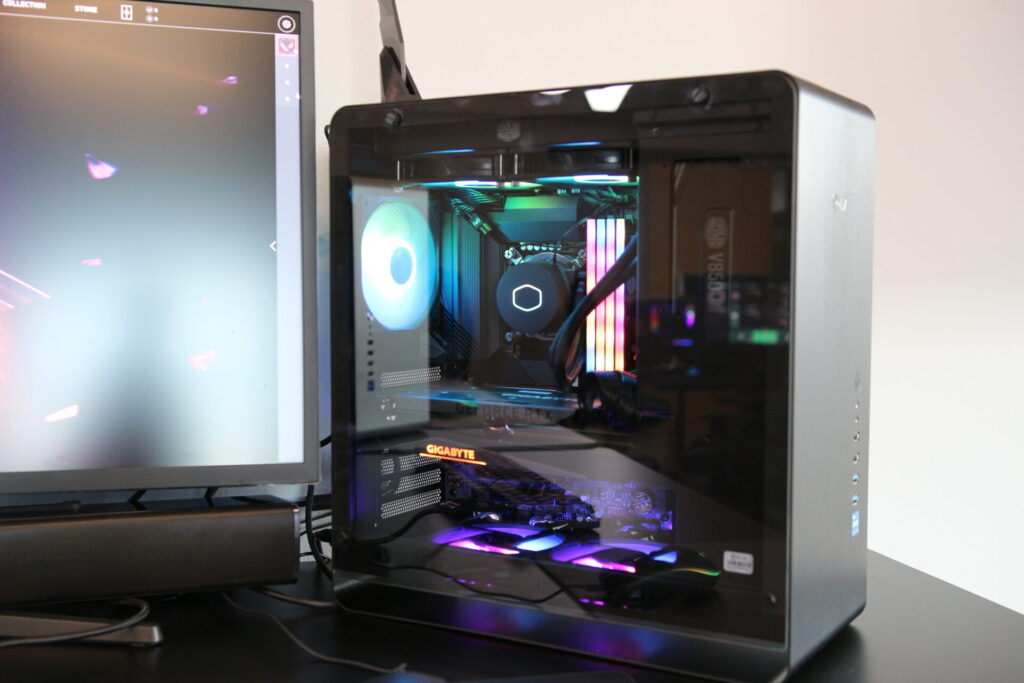
If you’re in Singapore and in the market for a new gaming PC, Volta PC is your ideal destination.
Catering to a wide range of gaming enthusiasts, from casual players to hardcore gamers, we offer an extensive selection of top-tier gaming PC that are tailored to enhance your gaming experience. At Volta PC, we understand the evolving needs of gamers in today’s fast-paced digital world. Our gaming PCs are not just powerful; they’re also equipped with the latest technology to handle the most demanding games and provide an immersive gaming experience. Whether you’re looking to dive into the latest AAA titles, engage in competitive eSports, or enjoy seamless VR experiences, our range of gaming PCs is designed to meet and exceed your expectations.
Moreover, what sets Volta PC apart is our commitment to quality and customer satisfaction. We believe that buying a gaming PC should be a smooth and enjoyable process. Our team of knowledgeable professionals is dedicated to assisting you in finding the perfect gaming machine that fits both your gaming style and budget. We offer customized solutions, allowing you to tailor your gaming PC to your specific requirements. With Volta PC, you’re not just purchasing a product; you’re investing in a gaming journey that is backed by reliable support and service. For gamers in Singapore looking for a new gaming PC, Volta PC is the go-to place where performance, quality, and customer service come together to provide an unparalleled gaming experience.