In this guide, we’ll walk you through the process of installing a new PSU in your gaming desktop in Singapore. We’ll cover everything from understanding what a PSU is, to choosing the right PSU, preparing for installation, and the installation process itself. We’ll also discuss post-installation checks and troubleshooting, as well as how to maintain your PSU and ensure its longevity.
Understanding the Power Supply Unit (PSU)
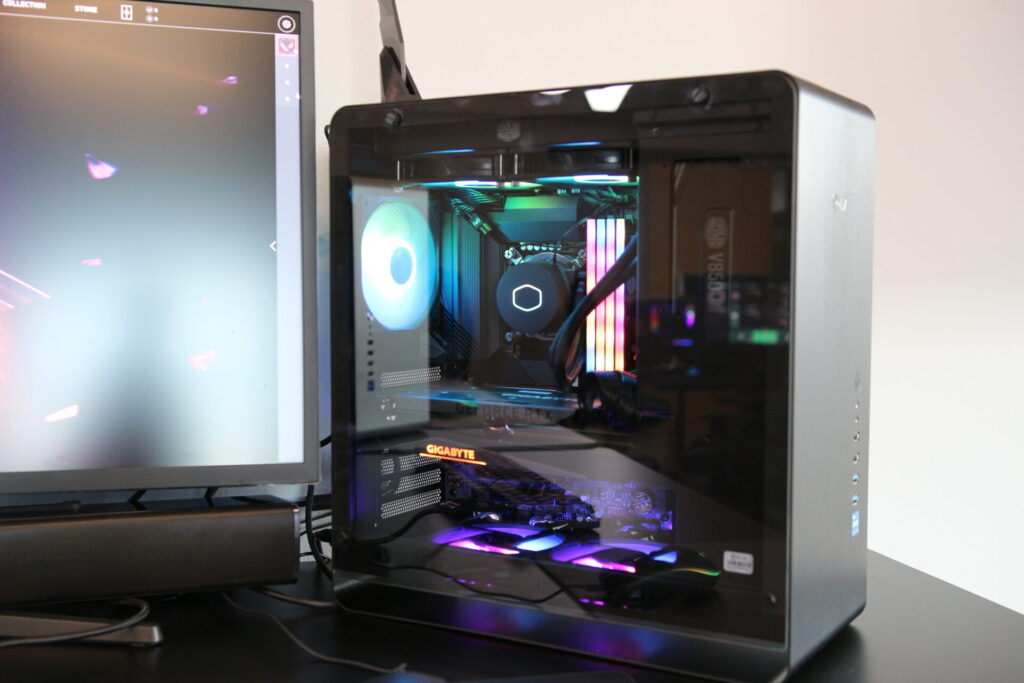
In the heart of every gaming desktop, you’ll find a crucial component. It’s the power supply unit, or PSU. This device plays a pivotal role in your system. It’s responsible for supplying power to all your PC hardware. This includes the motherboard, processor, and graphics card.
Firstly, let’s delve into what a PSU is.
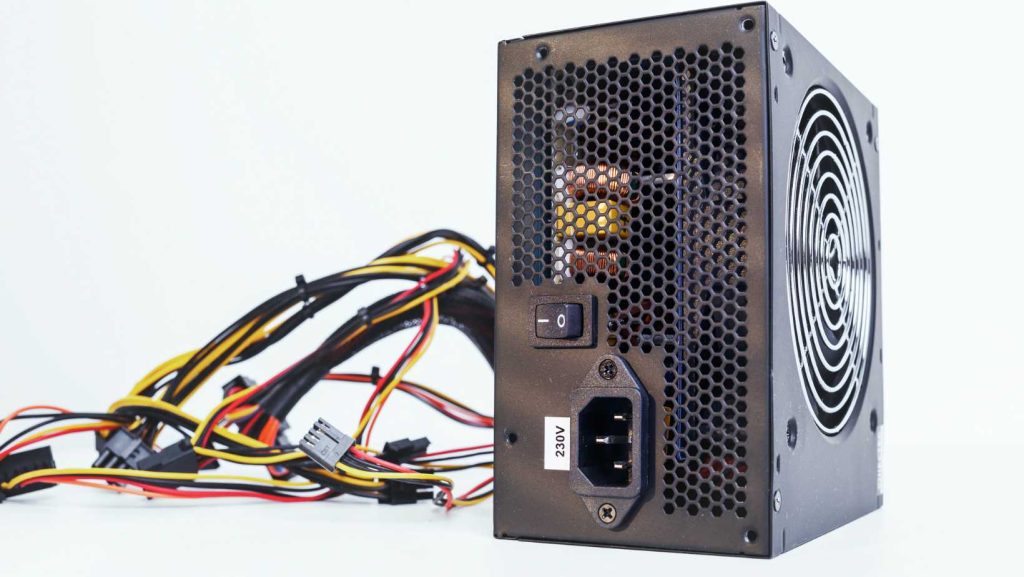
It’s an electrical device that supplies power to your computer. It does this by converting mains AC to low-voltage regulated DC power. This power is for the internal components of your gaming desktop.
The PSU is a critical component. Without it, your gaming desktop wouldn’t function. It’s as simple as that. It’s the lifeline that allows your system to operate.
Now, let’s discuss the different types of PSUs.
These include ATX, Micro-ATX, and Mini-ITX. Each type has its unique features. They also have different compatibilities with various cases.
ATX is the most common type of PSU. It’s the standard for most full-sized desktop computers. These units range in power from around 300 watts to 850 watts. Some ATX-standard PSUs are longer than normal. These can stretch to eight or ten inches long. Despite their size, they maintain their width and height. These are the powerhouses that can support high-end CPUs, multiple GPUs, and arrays of storage drives.
On the other hand, Micro-ATX and Mini-ITX are smaller. They’re designed for compact cases. These power supplies generally top out at around 400 watts. However, some more powerful units are available.
In Singapore, where space can be a premium, these smaller PSUs can be a great choice.
They allow for powerful gaming desktops in a compact form factor.
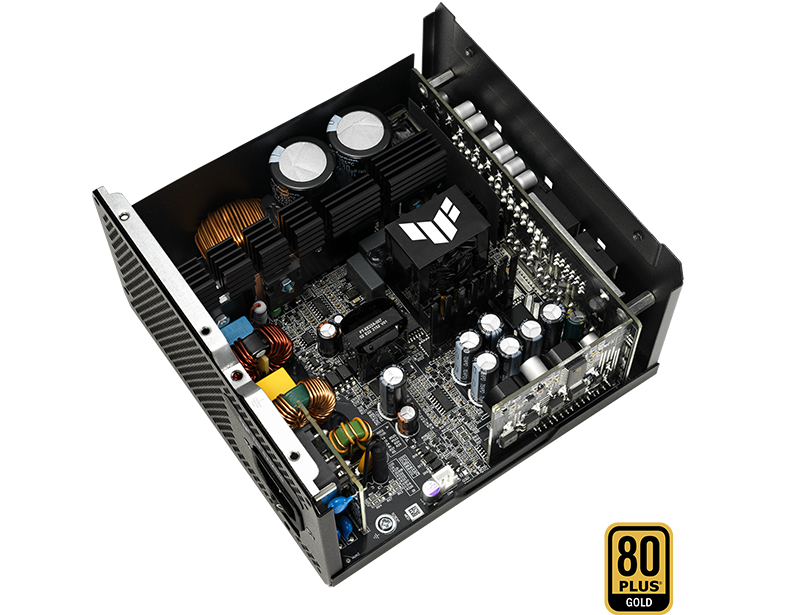
Choosing the right PSU for your gaming desktop is crucial. It’s not just about the wattage rating. You also need to consider the 80 Plus rating. This rating system measures the efficiency of the PSU. It certifies them into tiers, including Bronze, Silver, Gold, and Platinum.
A higher 80 Plus rating means a more efficient PSU. This can lead to lower electricity costs over time. It can also mean a more stable power supply for your components.
In addition to the 80 Plus rating, you need to consider the connectors. Your PSU needs to have sufficient connectors for your CPU and GPU. Some motherboards take dual CPU connectors. Newer graphics cards like the GeForce RTX 4090 GPU require at least three PCIe 8-pin connectors.
In conclusion, understanding the PSU is essential for any gaming desktop owner. Whether you’re in Singapore or anywhere else in the world, the principles remain the same. Choose the right PSU for your needs. Consider the type, the wattage rating, the 80 Plus rating, and the connectors.
Remember, a well-chosen PSU can lead to a more stable, efficient, and powerful gaming desktop. It’s not just about PSU installation. It’s about making the right choice from the start. This will ensure your gaming desktop runs smoothly for years to come.
Choosing the Right PSU for Your Gaming Desktop in Singapore
Choosing the right power supply unit (PSU) for your gaming desktop is a critical decision. It’s not just about picking the one with the highest wattage rating. There’s more to it. You need to consider several factors. These include the 80 Plus rating, the type of PSU, and the connectors it comes with.
Firstly, let’s talk about the wattage rating.
This is a measure of the PSU’s power output. It’s important to choose a PSU that can supply enough power for all your components. However, more isn’t always better.
You need to calculate the total power consumption of your components. This includes your CPU, graphics card, RAM, and storage drives. Once you have this figure, you should add a buffer of around 150-200W. This allows for power spikes and future upgrades.
For instance, if your components consume 500W, consider a PSU with a wattage rating of 650-700W. This gives you enough headroom. It also ensures your PSU isn’t always running at full capacity, which can extend its lifespan.
Next, consider the 80 Plus rating.
This is a voluntary certification program. It promotes energy-efficient PSUs. The 80 Plus rating system includes Bronze, Silver, Gold, Platinum, and Titanium categories.
A higher 80 Plus rating means a more efficient PSU. This can lead to lower electricity costs. It’s especially relevant in Singapore, where electricity prices can be high.
Now, let’s discuss the type of PSU.
As mentioned earlier, there are ATX, Micro-ATX, and Mini-ITX PSUs. The type you choose depends on your case size and your power requirements.
ATX PSUs are the most common. They fit most full-sized desktop cases. Micro-ATX and Mini-ITX PSUs are smaller. They’re designed for compact cases.
Remember, a smaller PSU doesn’t mean less power. There are high-wattage Micro-ATX and Mini-ITX PSUs available. So, you can still build a powerful gaming desktop in a compact case.
Finally, consider the connectors.
Your PSU needs to have enough connectors for your CPU, GPU, and other components. Some motherboards require dual CPU connectors. Some graphics cards need multiple PCIe connectors.
Ensure your PSU has all the connectors you need. Also, consider future upgrades. You might want to add more storage drives or a more powerful GPU in the future.
In conclusion, choosing the right PSU for your gaming desktop is a crucial task. It’s not just about the wattage rating. You need to consider the 80 Plus rating, the type of PSU, and the connectors.
Remember, a well-chosen PSU can lead to a more stable, efficient, and powerful gaming desktop. It’s not just about PSU installation. It’s about making the right choice from the start. This will ensure your gaming desktop runs smoothly for years to come.
Preparation Before Installing a New PSU for Your Gaming Desktop in Singapore
Before you dive into the PSU installation process, there are several steps you need to take. These steps ensure a smooth and successful installation. They also help to prevent any potential damage to your components.
Firstly, gather all your installation materials and tools.
The main tool you’ll need is a Philips Head screwdriver. This tool is used to secure the PSU in place. It’s also used to install other components. Next, ensure your workplace is clean and static-free. This is crucial. Static electricity can damage your components. It’s best to avoid building on top of a carpeted floor. If possible, work on a hard, non-static surface. In addition to a clean workplace, consider using an anti-static bracelet. This device prevents static electricity from building up on your body. It’s a simple tool, but it can save your components from potential damage.
Now, let’s talk about the components.
Before installing the PSU, you should install the motherboard in your PC case. This includes the CPU and RAM.
The motherboard is the main circuit board of your PC. It’s where all other components connect. Installing it first makes the PSU installation process easier. The CPU, or central processing unit, is the brain of your PC. It’s responsible for executing commands. The RAM, or random access memory, temporarily stores data for the CPU to process.
You should also install your storage drives before the PSU. These include hard disk drives (HDD) and solid-state drives (SSD). These devices store your data, including your operating system, applications, and files. Remember, each component has its place in the PC case. Make sure you know where each component goes before you start the installation process
Once your motherboard, CPU, RAM, and storage drives are installed, you can move on to the PSU. However, leave the graphics card for last. It’s easier to manage the cables without the graphics card in the way.
In conclusion, preparation is key when it comes to PSU installation. Gather your tools, ensure a static-free workplace, and install your core components. Remember, a successful PSU installation leads to a more stable and efficient gaming desktop. It’s not just about the installation process. It’s about the preparation and the choices you make along the way.
Step-by-Step Guide to Installing a New PSU
Installing the power supply unit (PSU) in your gaming desktop can seem daunting. However, with the right guidance, it’s a task you can accomplish. Here’s a step-by-step guide to help you through the process.
Step 1: Prepare Your PSU
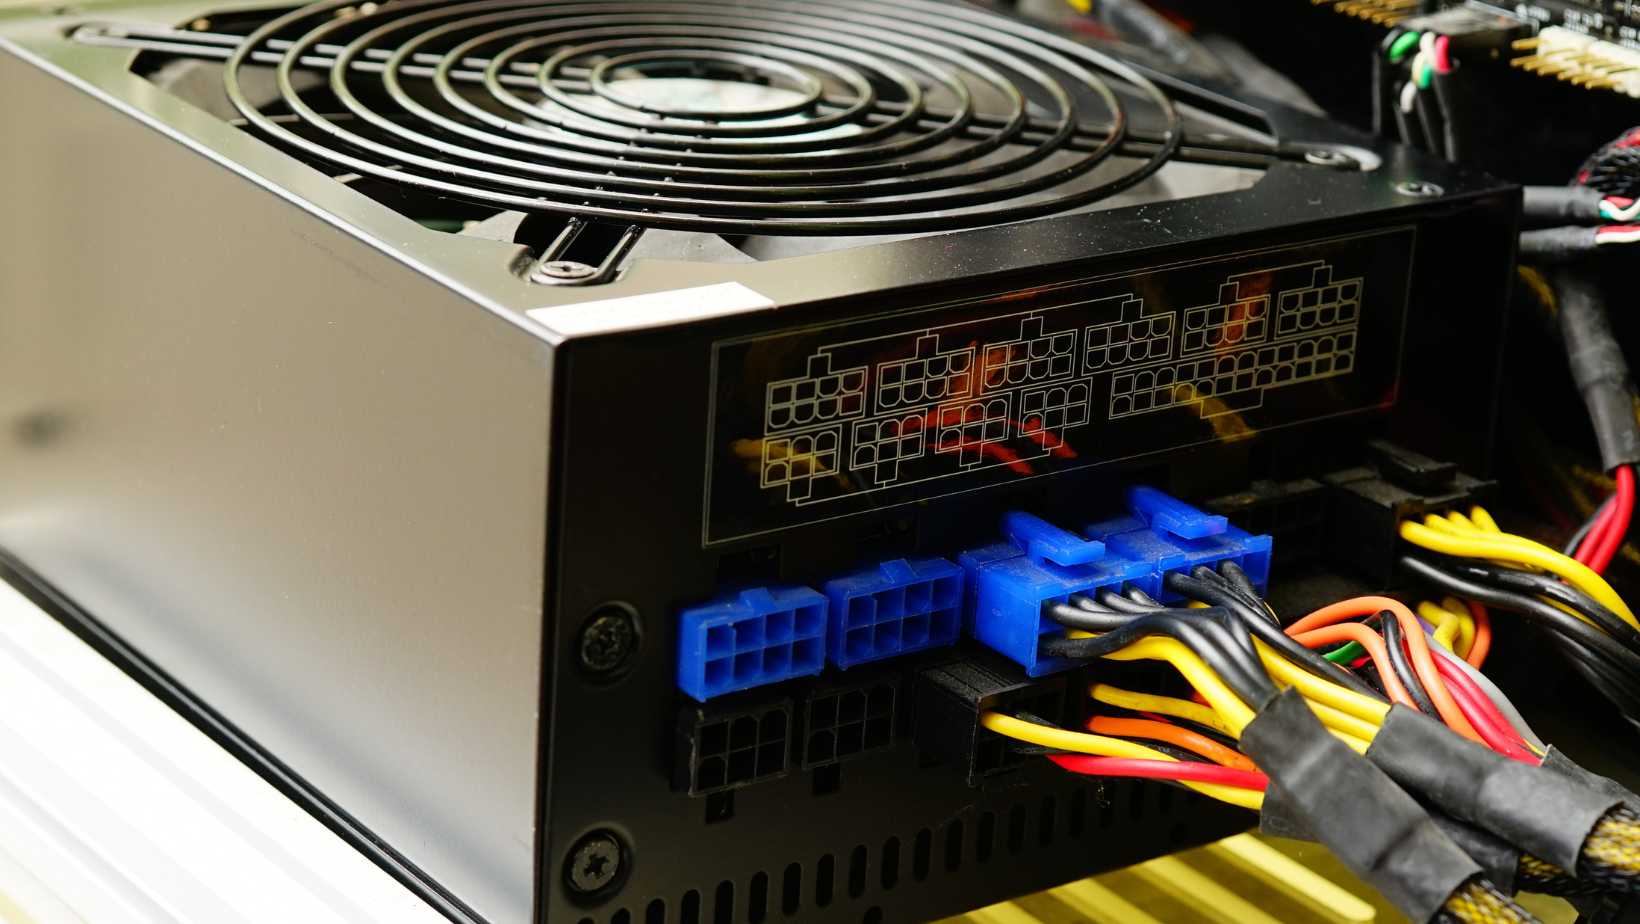
If you have a semi-modular or fully modular PSU, plug in all the necessary cables before installing it. These include the 24-pin power connector, CPU power connector, PCIe power connectors for your graphics card, and SATA power connectors for your storage drives.
Step 2: Position Your PSU
Position the PSU in its bay, ensuring the fan is facing the correct direction. In most cases, the fan should face downwards or towards the side with ventilation holes. This allows the PSU to draw in cool air from outside the case.
Step 3: Secure Your PSU
Using your Philips Head screwdriver, secure the PSU to the case. There are usually four screw holes on the back of the case that align with the holes on the PSU. Tighten the screws until they’re firm, but don’t over-tighten as this could damage the PSU or the case.
Step 4: Connect to the Motherboard
Locate the 24-pin power connector. This is the largest connector coming from the PSU. Connect it to the corresponding port on the motherboard. It’s usually located on the right side of the motherboard.
Step 5: Connect to the CPU
Find the CPU power connector from the PSU. It’s typically a 4-pin or 8-pin connector. Connect it to the corresponding port on the motherboard. This is usually located near the CPU socket.
Step 6: Connect to the Storage Drives and Other Peripherals
Connect the SATA power connectors to your storage drives. If you have other peripherals that need power, such as a water pump for a liquid cooling system, connect them as well.
Step 7: Connect to the Graphics Card
If you have a dedicated graphics card, it will need power from the PSU. This is usually one or two 6-pin or 8-pin PCIe power connectors. Connect these to the corresponding ports on the graphics card.
Step 8: Cable Management
With all the cables connected, it’s time for some cable management. This involves arranging the cables neatly to improve airflow and aesthetics. Use cable ties or Velcro straps to bundle cables together and keep them tidy.
Step 9: Final Checks
Before you power on your PC, do a final check. Make sure all cables are securely connected and not blocking any fans. Check that the voltage switch on the PSU (if it has one) is set correctly for your region.
In conclusion, installing a PSU is a straightforward process with the right preparation and guidance. Whether you’re in Singapore or elsewhere, these steps remain the same. Remember, a well-installed PSU contributes to a stable and efficient gaming desktop. It’s not just about the PSU installation, but also about making the right choices and preparations. With this guide, you’re well on your way to a successful PSU installation.
Post-Installation Checks and Troubleshooting
Once you’ve installed the power supply unit (PSU) in your gaming desktop, your work isn’t quite done. There are post-installation checks to perform. These ensure that everything is working as it should.
If you encounter any issues, there are troubleshooting steps you can take.
- Check All Connections: The first step is to check all your connections. Ensure that the 24-pin power connector is securely attached to the motherboard. The CPU power connector should be firmly in place. Your storage drives and graphics card should also be connected to the PSU.
- Power On Your PC: Now, it’s time to power on your PC. If everything is installed correctly, your PC should boot up. You should see the BIOS or UEFI screen. This confirms that your PSU is supplying power to your components.
- Check Component Functionality: Once your PC is on, check that all components are working. Your CPU and RAM should be detected in the BIOS or UEFI. Your storage drives should also be recognized. If you have a dedicated graphics card, it should be listed as well.
- Monitor Temperatures: Keep an eye on your component temperatures. High temperatures could indicate a problem with your PSU or other components. Most BIOS or UEFI interfaces have a hardware monitoring section where you can check temperatures.
- Check PSU Fan: The fan on your PSU should be spinning. If it’s not, this could indicate a problem with the PSU.
If you encounter any issues during these checks, don’t panic. There are troubleshooting steps you can take.
- Recheck All Connections: If your PC doesn’t power on, recheck all your connections. A loose power connector could be the culprit.
- Try a Different Power Cable or Outlet: If your PC still doesn’t power on, try a different power cable or outlet. The problem could be with your power source, not the PSU.
- Test PSU in a Different PC: If you have another PC available, try the PSU in that PC. This can help determine if the PSU is the problem.
- Check for Visible Damage: If your PSU fan isn’t spinning, check for visible damage. This could include burnt or damaged components. If you see any damage, it’s best to replace the PSU.
- Contact Manufacturer or Retailer: If you can’t resolve the issue, contact the PSU manufacturer or retailer. They can provide further assistance.
In conclusion, post-installation checks and troubleshooting are crucial parts of the PSU installation process. They ensure your PSU and other components are working correctly. Whether you’re in Singapore or elsewhere, these steps remain the same. Remember, a well-installed PSU contributes to a stable and efficient gaming desktop. It’s not just about the PSU installation, but also about making the right choices and taking the right steps after installation.
Maintaining Your PSU and Ensuring Longevity
Once you’ve successfully installed your power supply unit (PSU), your job isn’t over. Maintaining your PSU and ensuring its longevity is an ongoing task. Here are some tips to help you keep your PSU in top shape.
Keep Your PSU Clean
Dust can accumulate in your PSU over time. This can block the fan and reduce its efficiency. It can also cause your PSU to overheat. Regularly clean your PSU using a can of compressed air. This can help remove dust and keep your PSU running smoothly.
Ensure Good Ventilation
Your PSU needs good ventilation to operate efficiently. Make sure the fan is not blocked by cables or other components. Also, ensure your PC case has good airflow. This can help keep your PSU and other components cool.
Avoid Overloading Your PSU
Overloading your PSU can reduce its lifespan. This happens when you draw more power than the PSU is rated for. Always choose a PSU with a wattage rating that exceeds your components’ total power consumption. This gives you a buffer and ensures your PSU isn’t always running at full capacity.
Regularly Check PSU Fan
The fan in your PSU helps keep it cool. Regularly check that the fan is spinning when your PC is on. If the fan isn’t spinning, it could indicate a problem with the PSU.
Monitor PSU Temperatures
High temperatures can reduce the lifespan of your PSU. Most modern motherboards have hardware monitoring features in their BIOS or UEFI. You can use these features to monitor your PSU temperatures. If the temperatures are consistently high, it could indicate a problem with your PSU or case ventilation.
Use a Surge Protector
Power surges can damage your PSU and other components. Using a surge protector can help protect your PC from power surges. This is especially important in areas with unstable power supply.
Replace Old PSUs
PSUs can degrade over time. If your PSU is more than five years old, consider replacing it. A new PSU can be more efficient and reliable.
In conclusion, maintaining your PSU and ensuring its longevity is an ongoing task. It involves regular cleaning, ensuring good ventilation, avoiding overloading, and replacing old PSUs. Whether you’re in Singapore or elsewhere, these tips can help you keep your PSU in top shape. Remember, a well-maintained PSU contributes to a stable and efficient gaming desktop. It’s not just about PSU installation, but also about ongoing maintenance and care. With these tips, you can ensure your PSU serves you well for years to come.
Where to Get a New PSU for your Gaming Desktop in Singapore
When it comes to upgrading your gaming desktop in Singapore, finding the right power supply unit (PSU) is crucial. There are several places where you can find a new PSU. These include online marketplaces, electronics stores, and specialized computer shops. However, not all sellers are created equal. It’s important to choose a reliable source that offers quality products.
Online marketplaces like Lazada and Shopee offer a wide range of PSUs. You can find various brands, wattage ratings, and 80 Plus efficiency levels. However, be cautious. Always check the seller’s ratings and reviews before making a purchase.
Physical electronics stores are another option. These stores often have knowledgeable staff who can provide advice. They can help you choose the right PSU for your gaming desktop. However, their range might be limited compared to online marketplaces.
Specialized computer shops are a great place to find PSUs. These shops cater specifically to PC builders and gamers. They often have a wide range of PSUs and other components. Plus, their staff are usually well-versed in PC building. They can provide valuable advice and recommendations.
Among these options, one stands out for its commitment to quality and customer service. That’s VOLTA PC.
VOLTA PC is a trusted name in the Singapore PC building community. They offer a wide range of high-quality PSUs suitable for any gaming desktop. At VOLTA PC, you can find PSUs from reputable brands. These include Asus, Cooler Master, and Seasonic. They offer various wattage ratings and 80 Plus efficiency levels. Whether you need an ATX, Micro-ATX, or Mini-ITX PSU, VOLTA PC has you covered.
What sets VOLTA PC apart is their commitment to customer service. Their knowledgeable staff can guide you in choosing the right PSU. They can help you calculate your power requirements and choose a PSU with the right connectors. They can even provide tips on PSU installation and maintenance.
-
 ASUS ROG LOKI SFXL 750 PLATINUM MODULAR PSU 3.0$319.00 w/GST
 -
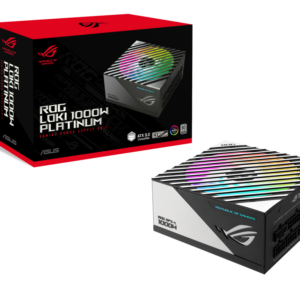 ASUS ROG LOKI SFXL 1000 PLATINUM MODULAR PSU 3.0$419.00 w/GST
 -
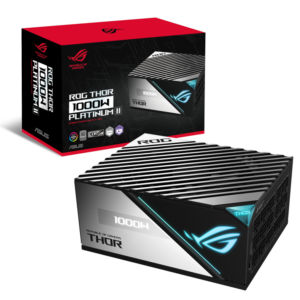 ASUS ROG THOR 1000W 80+ PLATINUM II OLED PSU (10Y)$579.00 w/GST
 -
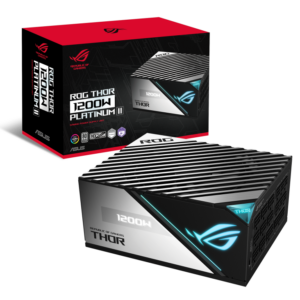 ASUS ROG THOR 1200 80+ PLATINUM II OLED PSU (10Y)$619.00 w/GST
In conclusion, finding a new PSU for your gaming desktop in Singapore is easy if you know where to look. While online marketplaces and electronics stores are options, specialized computer shops like VOLTA PC are your best bet. They offer a wide range of quality products and excellent customer service. Remember, choosing the right PSU is crucial for your gaming desktop’s performance and longevity. So, make your choice wisely. Choose a reliable seller like VOLTA PC.
FAQs about PSU for Gaming Desktop
Can I just swap PSU?
Yes, you can swap your PSU. However, it’s important to ensure that the new PSU is compatible with your motherboard and other components. It should have the correct connectors and provide sufficient power for your system.
Is it easy to install a new PSU?
Installing a new PSU is relatively straightforward, especially if you’re comfortable with handling computer hardware. The process involves disconnecting the old PSU, removing it from the case, inserting the new PSU, and connecting it to your components. Always remember to handle components carefully to avoid damage.
How do I install a new power supply?
To install a new power supply, you first need to disconnect your old PSU from all components and remove it from your PC case. Then, insert the new PSU into the PSU bay and secure it with screws. Connect the new PSU to your motherboard, CPU, graphics card, and storage drives using the appropriate cables. Finally, manage the cables for better airflow and aesthetics.
Will a new PSU work on an old motherboard?
Yes, a new PSU can work with an old motherboard, provided they have compatible connectors. Most modern PSUs and motherboards use a 24-pin connector for the main power connection. However, older motherboards may use a 20-pin connector. Always check the specifications of both the PSU and motherboard to ensure compatibility.
How do I connect my PSU to my motherboard?
To connect your PSU to your motherboard, locate the 24-pin power connector from the PSU. This is the largest connector and it plugs into a corresponding port on the motherboard, usually located on the right side. Ensure the connector is securely inserted.
Are all PSU the same size?
No, all PSUs are not the same size. The most common size is the ATX PSU, which is standard for most full-sized desktop computers. However, there are also smaller sizes like Micro-ATX and Mini-ITX for compact cases. Always check the PSU dimensions to ensure it will fit in your PC case.